Getting started
1 Package content
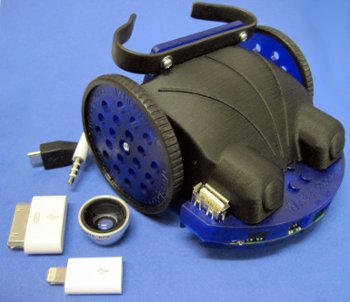
In the package you will receive:
- the Wheelphone robot
- iPhone adapters (iPhone 4 to micro USB and iPhone 5 to micro USB)
- a wide-angle lens
You can optionally order an android phone with all the Wheelphone apps pre-installed and the charging station. Refers to the shop.
2 First steps
The Wheelphone robot comes with two cables directly connected to it: one is the sound cable and the other is the micro USB cable.
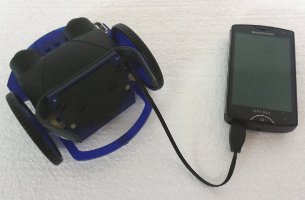
- if you have an Android phone: the micro USB cable is used to communicate with the robot most of the time. At the moment only when the robot need to be controlled through Skype the sound cable is used instead of the USB cable. The robot (when ON) charges the phone with the micro USB.
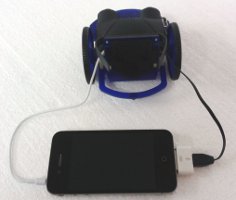
- if you have an iPhone: the sound cable will be used to transfer data between the robot and the iPhone, instead the micro USB cable will be used to charge the robot.
1. Download and install in your phone one (or more) of the applications available for the Wheelphone robot:
- Android: you can either download the apps from Google Play or from the Wheelphone wiki, refers to section Android software. If you navigate the wiki you need to click the link named app-name.apk in order to install an application; when the download finishes, click on it to start the actual installation.
- iPhone: you can either download the apps from the AppStore or from the Wheelphone wiki, refers to section iPhone software.
2. Connect the phone to the robot:
- Android: connect the micro USB cable coming from the robot to the phone
- iPhone: connect the sound cable to the earphone jack and the micro USB cable to the iPhone using the correct adapter (iPhone4 or iPhone5)
3. Once the cable is connected you need to place the phone on the back-side of the robot. In order to hold the phone in place you have two bendable arms that need to be adapted to the phone size. Before inserting the phone, bend the arms a little more than the phone thickness, paying attention also to the phone width. Once the arms are bent slide in the phone from the top to the bottom until the connector is near the ground (pay attention to not touch the ground). Put the remaining wires under the robot case to avoid them to float around. A good test to know whether the phone is well mounted or not is to put the robot upside down.
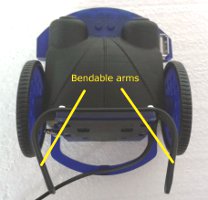
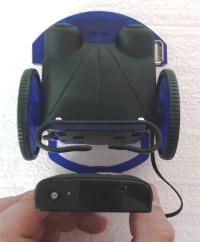
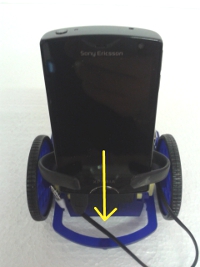
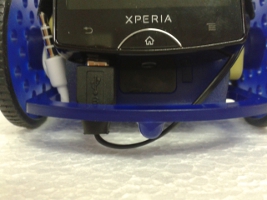
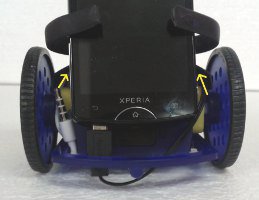
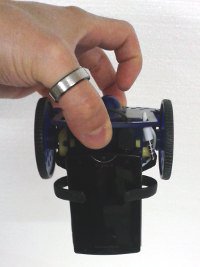
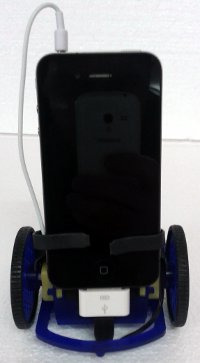
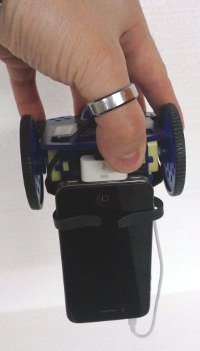
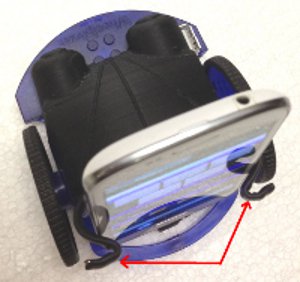
If the arms give you problems in touching the screen and interacting with the application you can also apply an "S" bend to the arms as illustrated in the following image, the phone will still remain well attached to the robot if the bendable arms aren't too loose:
4. Now that your phone is sturdy mounted on the robot, you can switch it on (the switch is positioned on the front side of the robot)
5. Start the desired application:
- Android: a pop-up window should appear on the screen, listing all the available apps compatible with the Wheelphone; click one of them to start it.
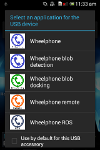
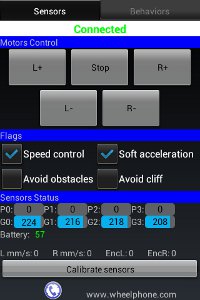
If nothing happens, that is the list of compatible apps isn't visualized when the robot is turned on, then try to switch off the robot, wait a couple of seconds and switch on the robot again.
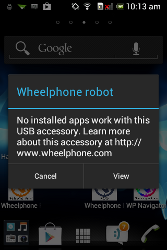
If you receive the following message instead of the app list when the robot is turned on, then try to switch off the robot, wait a couple of seconds and switch on the robot again.
- iPhone: you can select the application to start from the ones you installed
6. Start another application:
- Android: you need to stop the current application (back button), switch off the robot, wait a couple of seconds and switch it on again, now the list of available apps should appear on the screen
- iPhone: simply stop the current one and start another one
3 Charging
There are two ways to charge the Wheelphone, you can use the micro USB female connector or use its own charger unit thanks to the 2 golden contacts in front of the device.
If you leave the phone connected to the robot through the micro USB cable (for the iPhone use the adapter) you need to turn on the robot in order to charge also the phone; if the robot is switched off only the robot will be charged.
Please note that the charger unit is twice faster (1A) than in the USB mode (500mA). Furthermore, in order to quickly charge the robot and the phone simultaneously, it's recommended to supply them with two separate power systems.
Have a look to the light during charging, one red LED close to the USB mini connector should turn on until the end of the charge, then a green LED indicates that the charge is completed.
4 Robot firmware update
In case you need to update the robot firmware, see below the steps. Note that the phone has to be connected to Internet where it will get the new firmware.
- install the bootloader application on an Android phone (you can't upgrade the firmware with an iPhone)
- turn off the robot and connect the phone through the micro USB cable
- put the robot in charge; it's essential that the robot is in charge because this way it enter "upgrade mode" when turned on
- switch on the robot (while in charge); the bootloader application on the phone starts (press ok if it doesn't start automatically)
- the update is started automatically, wait until you see update complete; if after a while you do not see update complete restart the process from point 2
- if all gone right then you need to close the bootloader application on the phone, switch off the robot and unplug the charge cable. Now you can use the robot normally.
