e-puck2 radio module development
Flashing the radio module
In order to update the firmware of the ESP32 WiFi module you need to use a python script called esptool provided by Espressif (manufacturer of the chip). This script was modified to work with the e-puck2 robot and is available from the following link:
- Windows: esptool.exe; Python not required on the system.
- Linux/Mac: esptool.py; Python 3.4 and pySerial 2.5 need to be installed on the system.
Place the script in the same folder as the firmware (composed by 3 bin files: bootloader.bin, ESP32_E-Puck_2.bin and partitions_singleapp.bin) and then issue the following command:
- Windows:
esptool.exe --chip esp32 --port COM96 --baud 230400 --before default_reset --after hard_reset write_flash -z --flash_mode dio --flash_freq 40m --flash_size detect 0x1000 bootloader.bin 0x10000 ESP32_E-Puck_2.bin 0x8000 partitions_singleapp.bin
Alternatively you can download the following batch file esp32-flashing.bat
- Linux/Mac:
python esptool.py --chip esp32 --port COM96 --baud 230400 --before default_reset --after hard_reset write_flash -z --flash_mode dio --flash_freq 40m --flash_size detect 0x1000 bootloader.bin 0x10000 ESP32_E-Puck_2.bin 0x8000 partitions_singleapp.bin
In all cases you need to specify the correct port (with --port parameter) that is the one labeled Serial monitor (see chapter Finding the USB serial ports used).
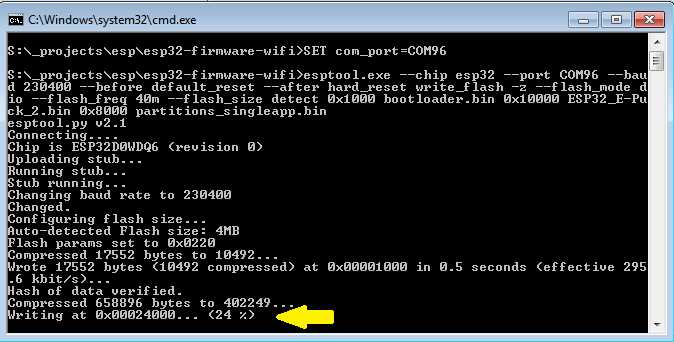
The upload should last about 10-15 seconds and you'll see the progress as shown in the following figure:
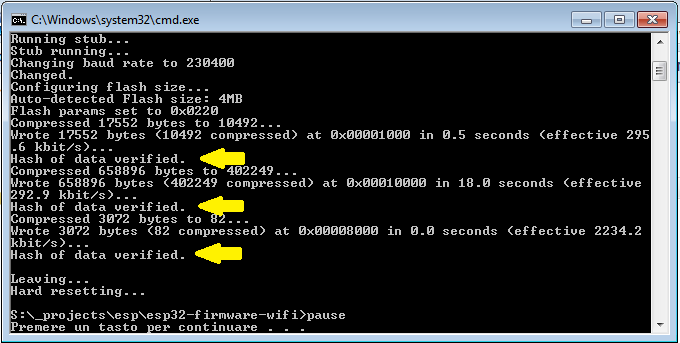
When the upload is complete you'll see that all 3 bin files are uploaded correctly as shown in the following figure:
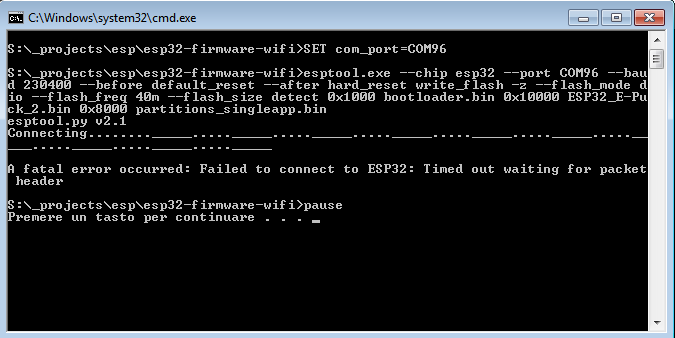
Sometime you could encounter a timeout error as shown in the following figures; in these cases you need to unplug and plug again the USB cable and power cycle the robot, then you can retry.