Hands-on
Phone inclination
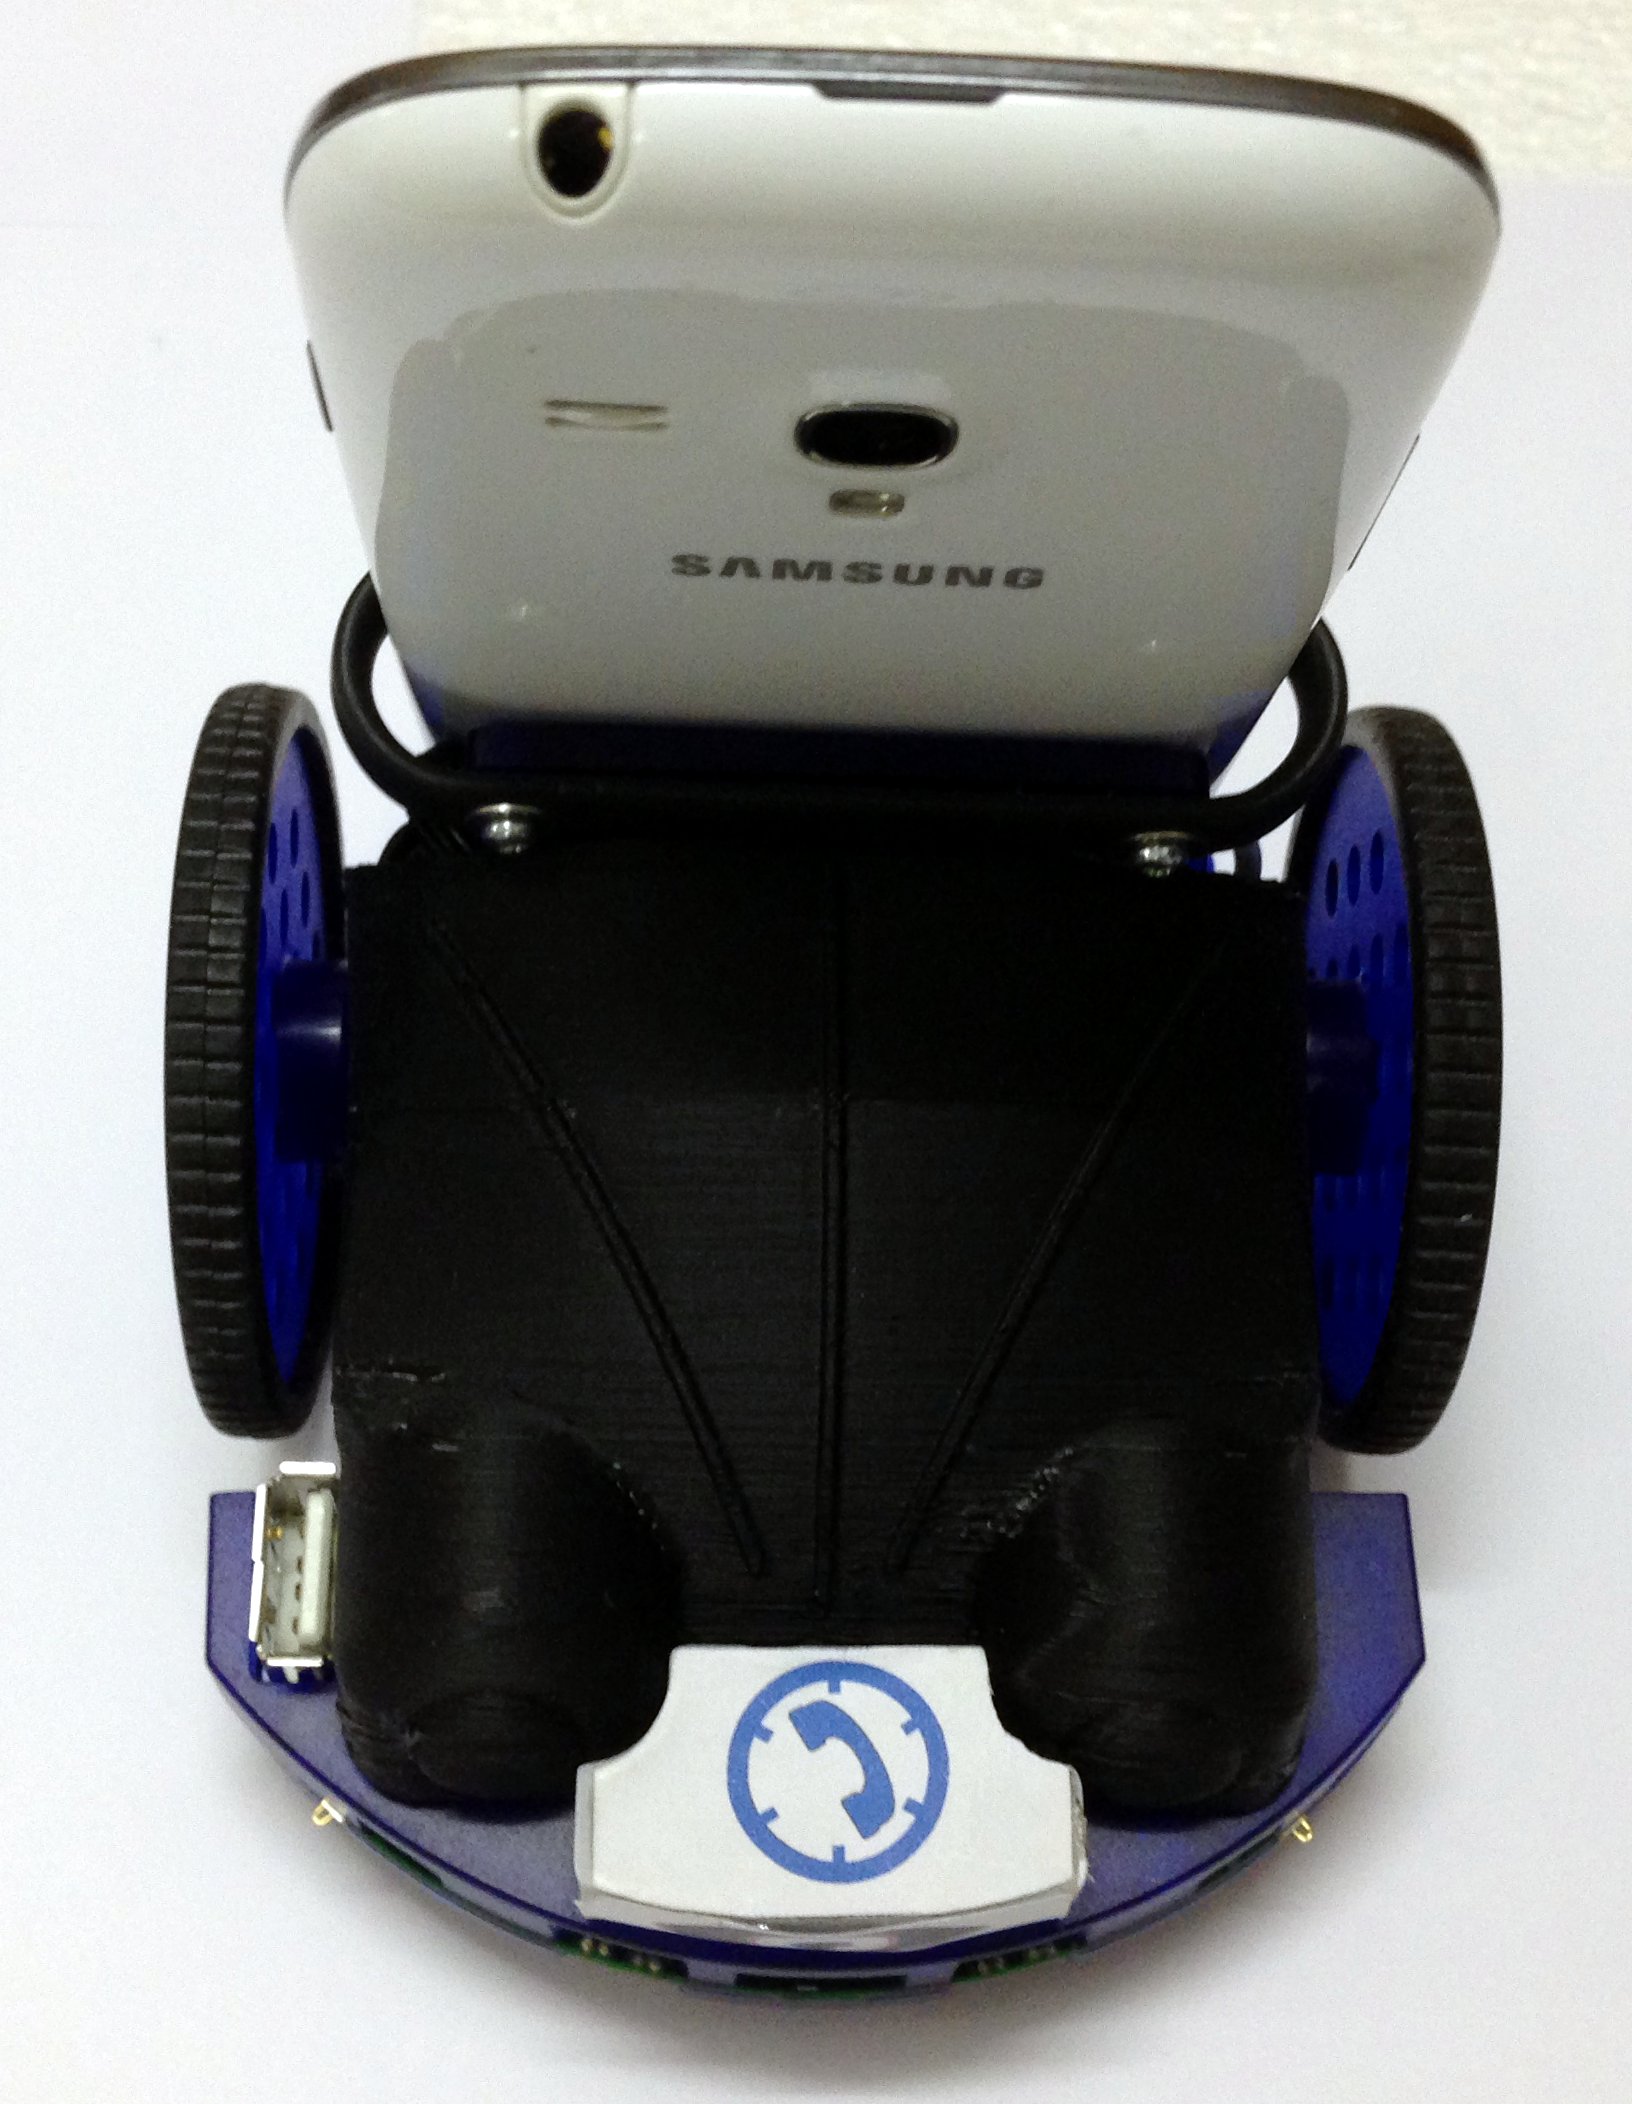
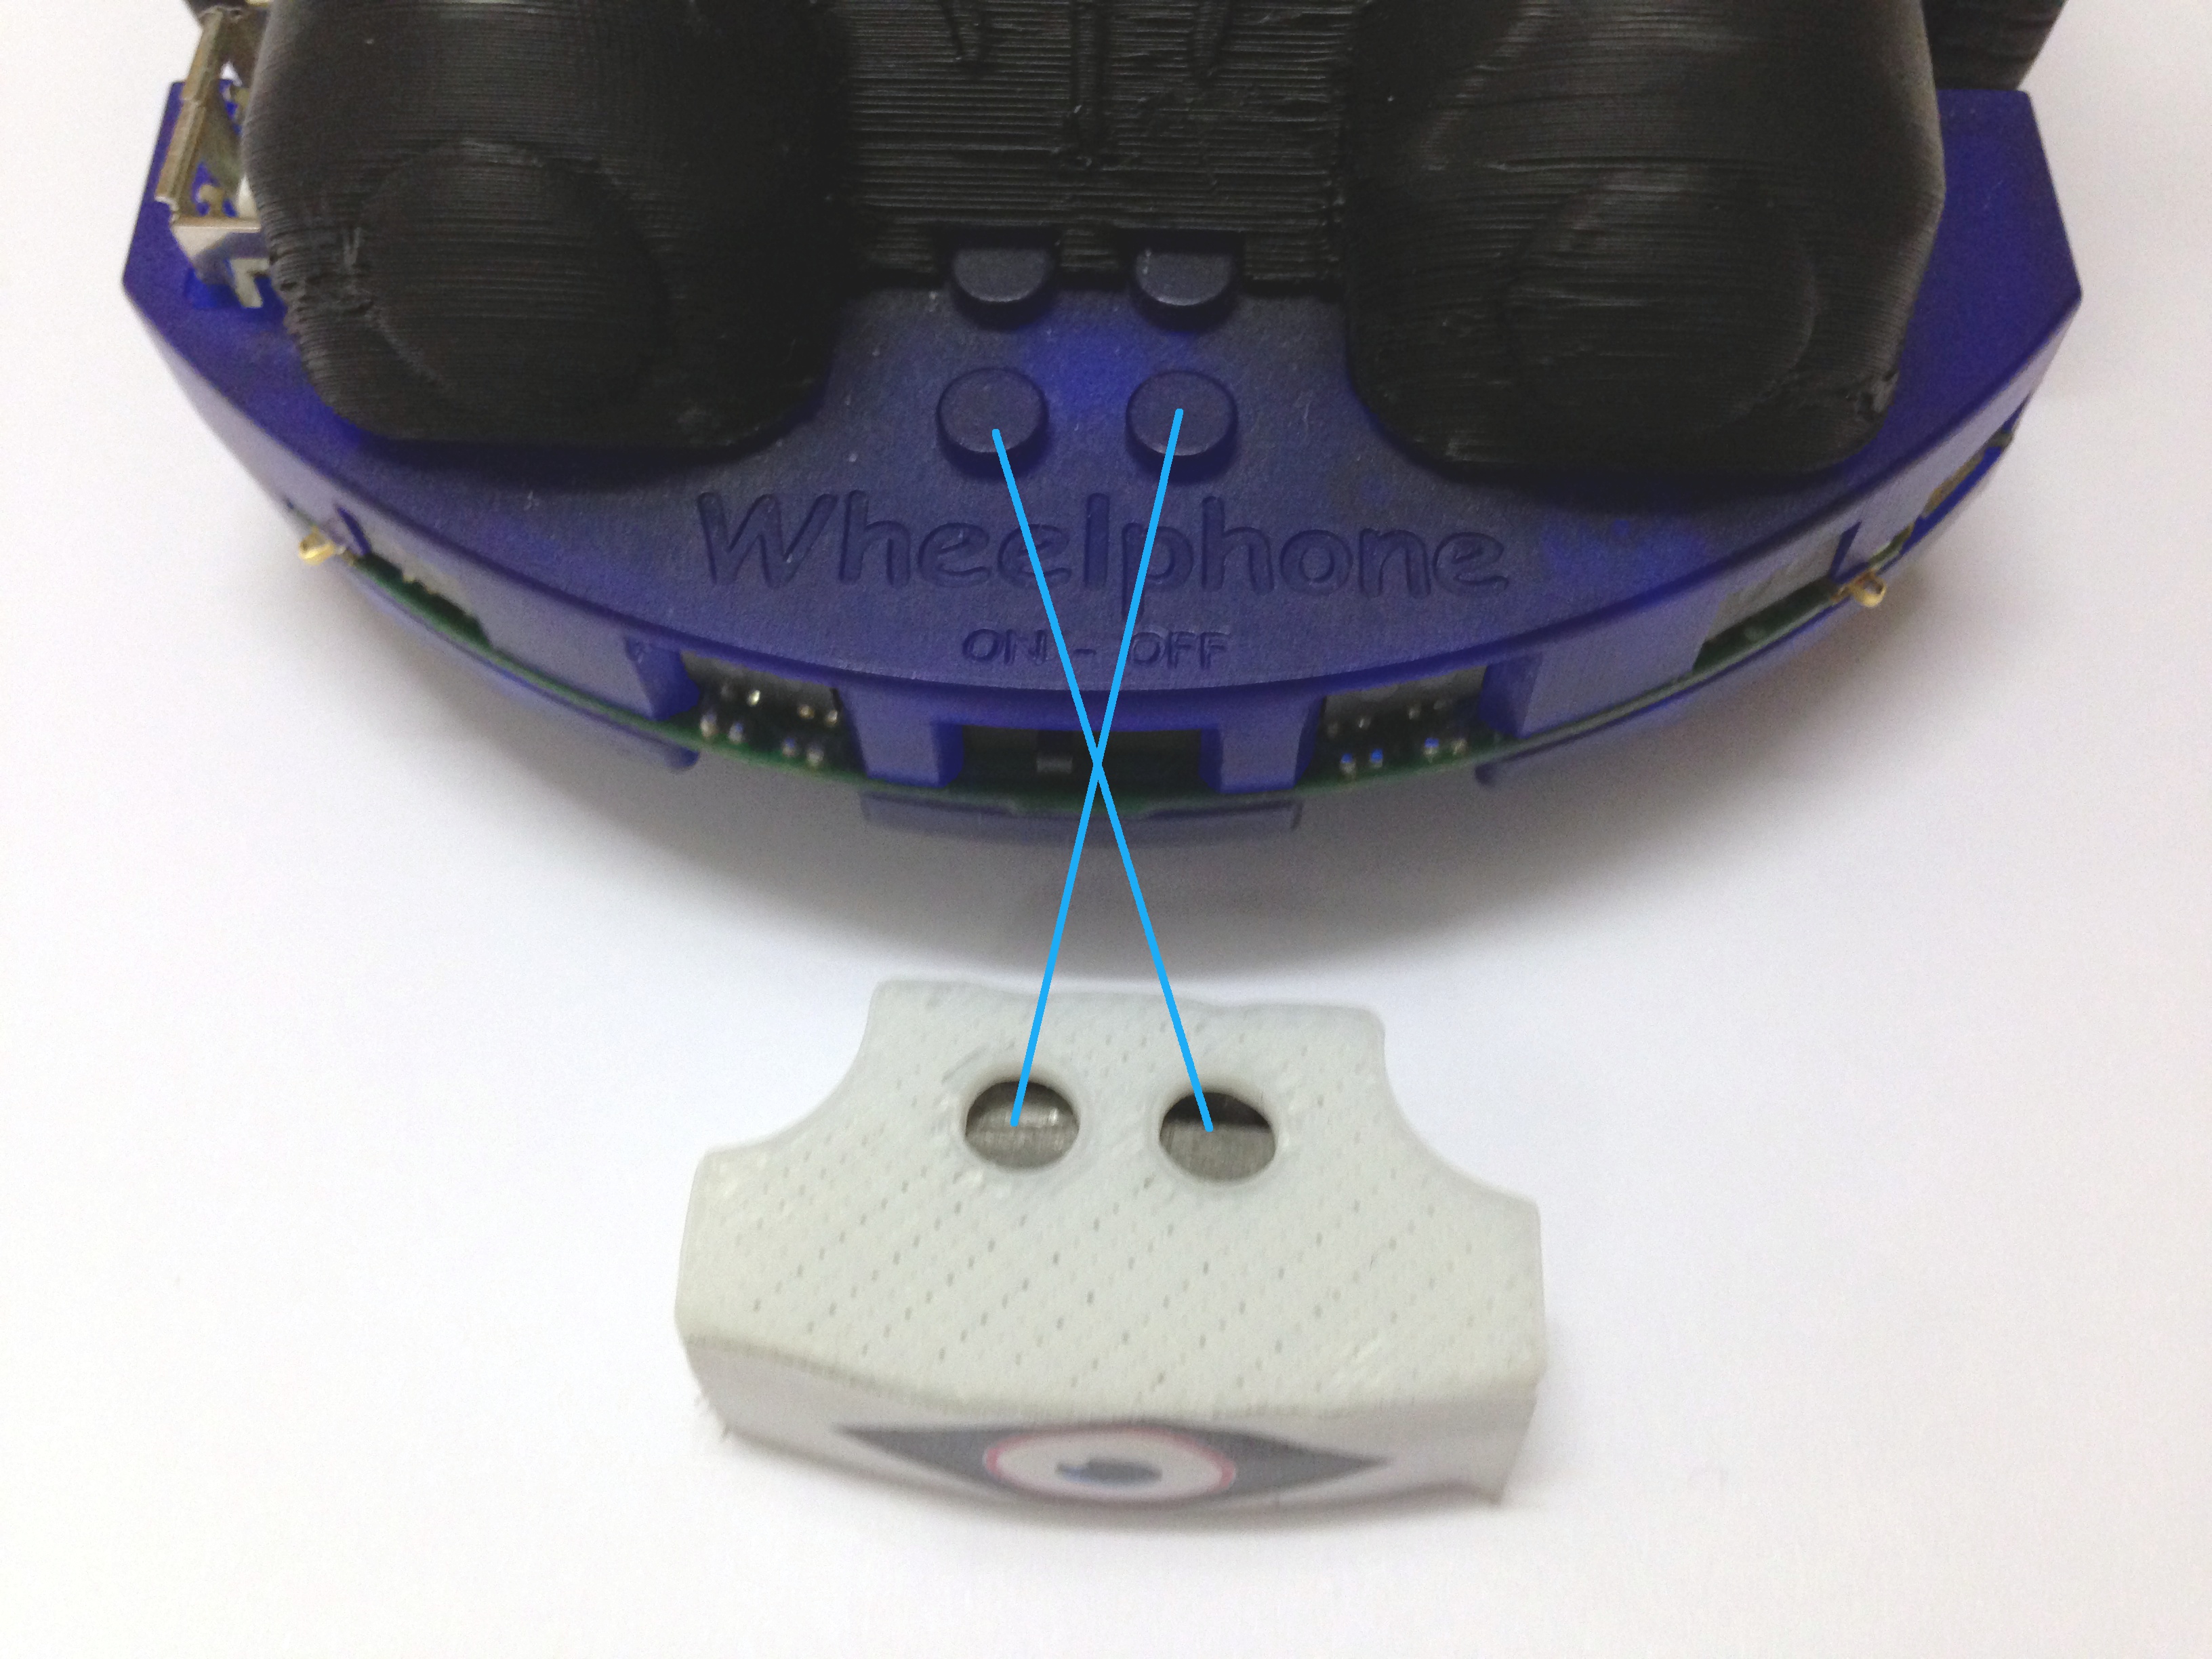
In some applications you need that the phone mounted on the robot has a longer view with the back camera and this can be accomplished adding a small piece of plastic with which you can adjust the tilt. In our lab we designed a simple extension that let choose between two inclinations, the following figures compares the normal inclination (no extension) and the others two (with the extension in one side and the other side):
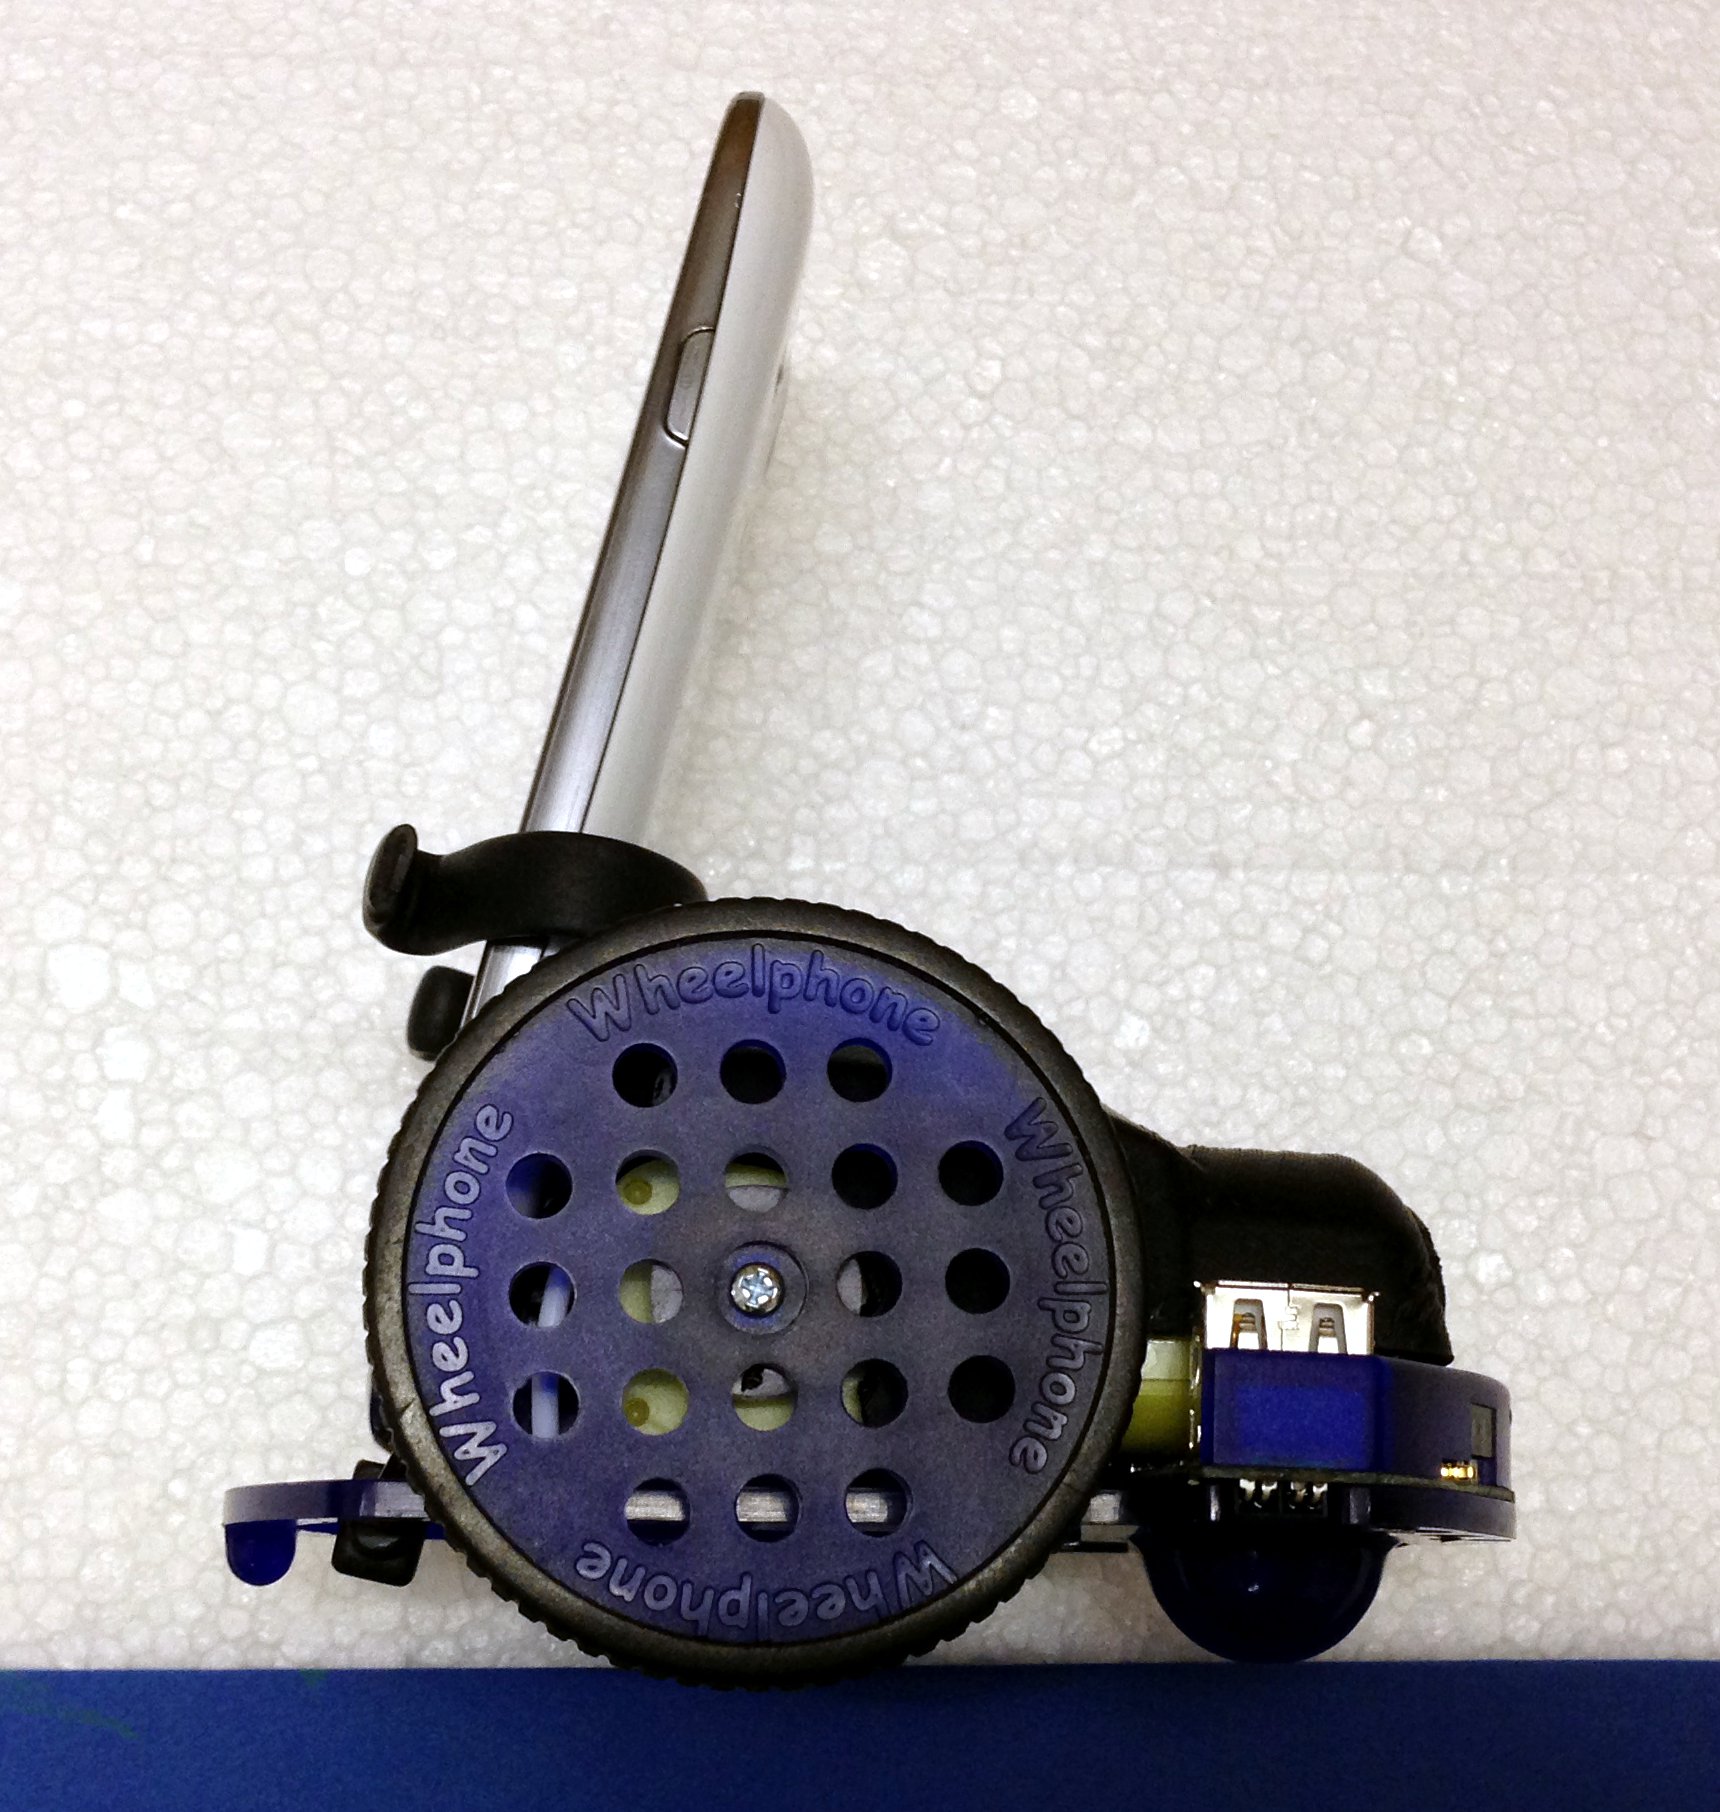
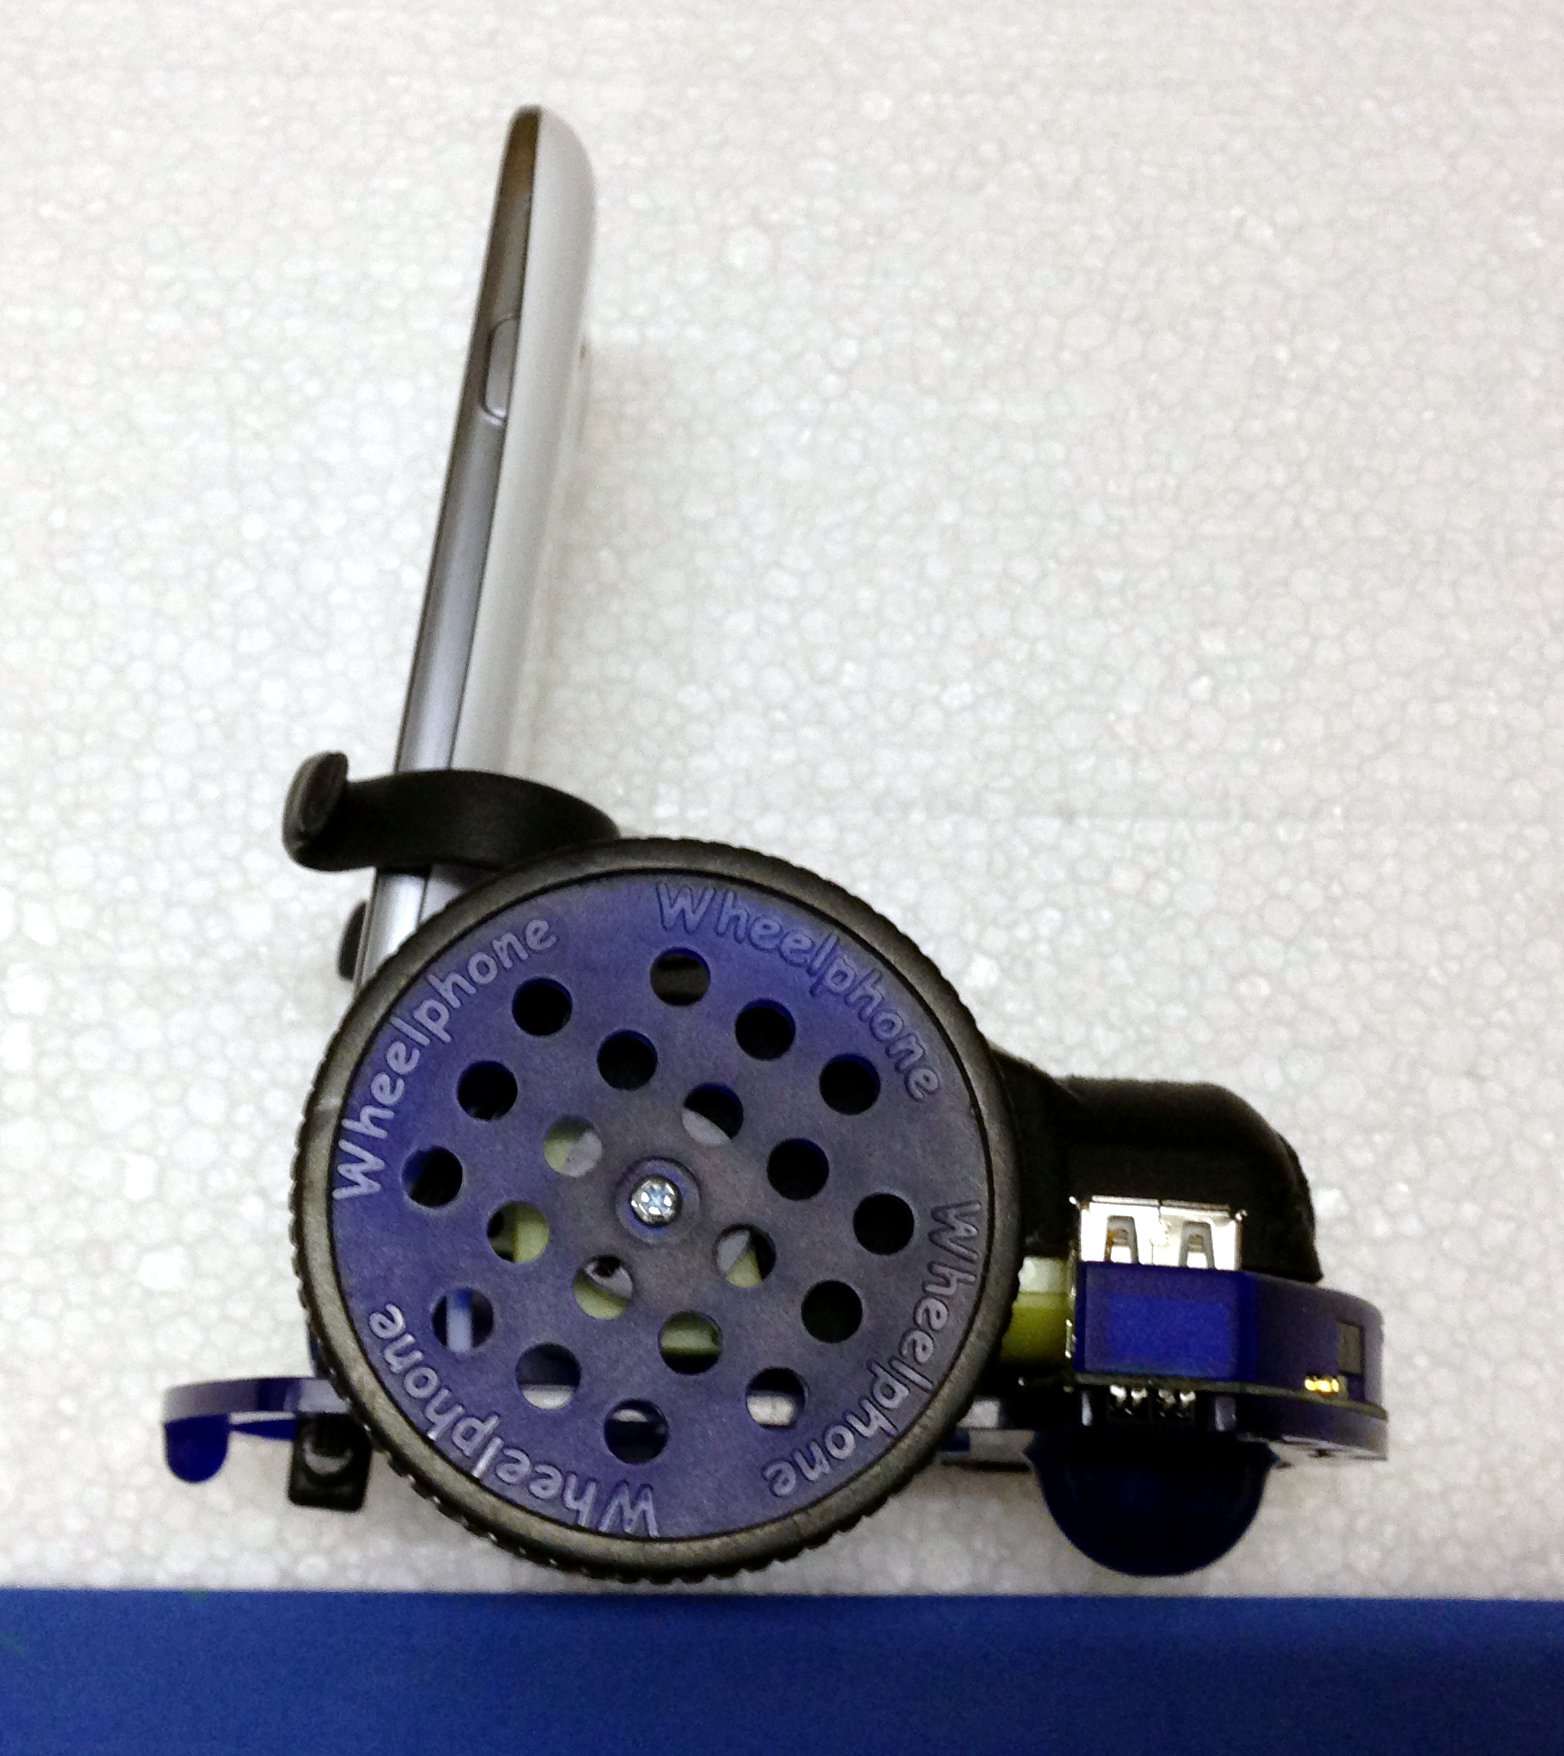
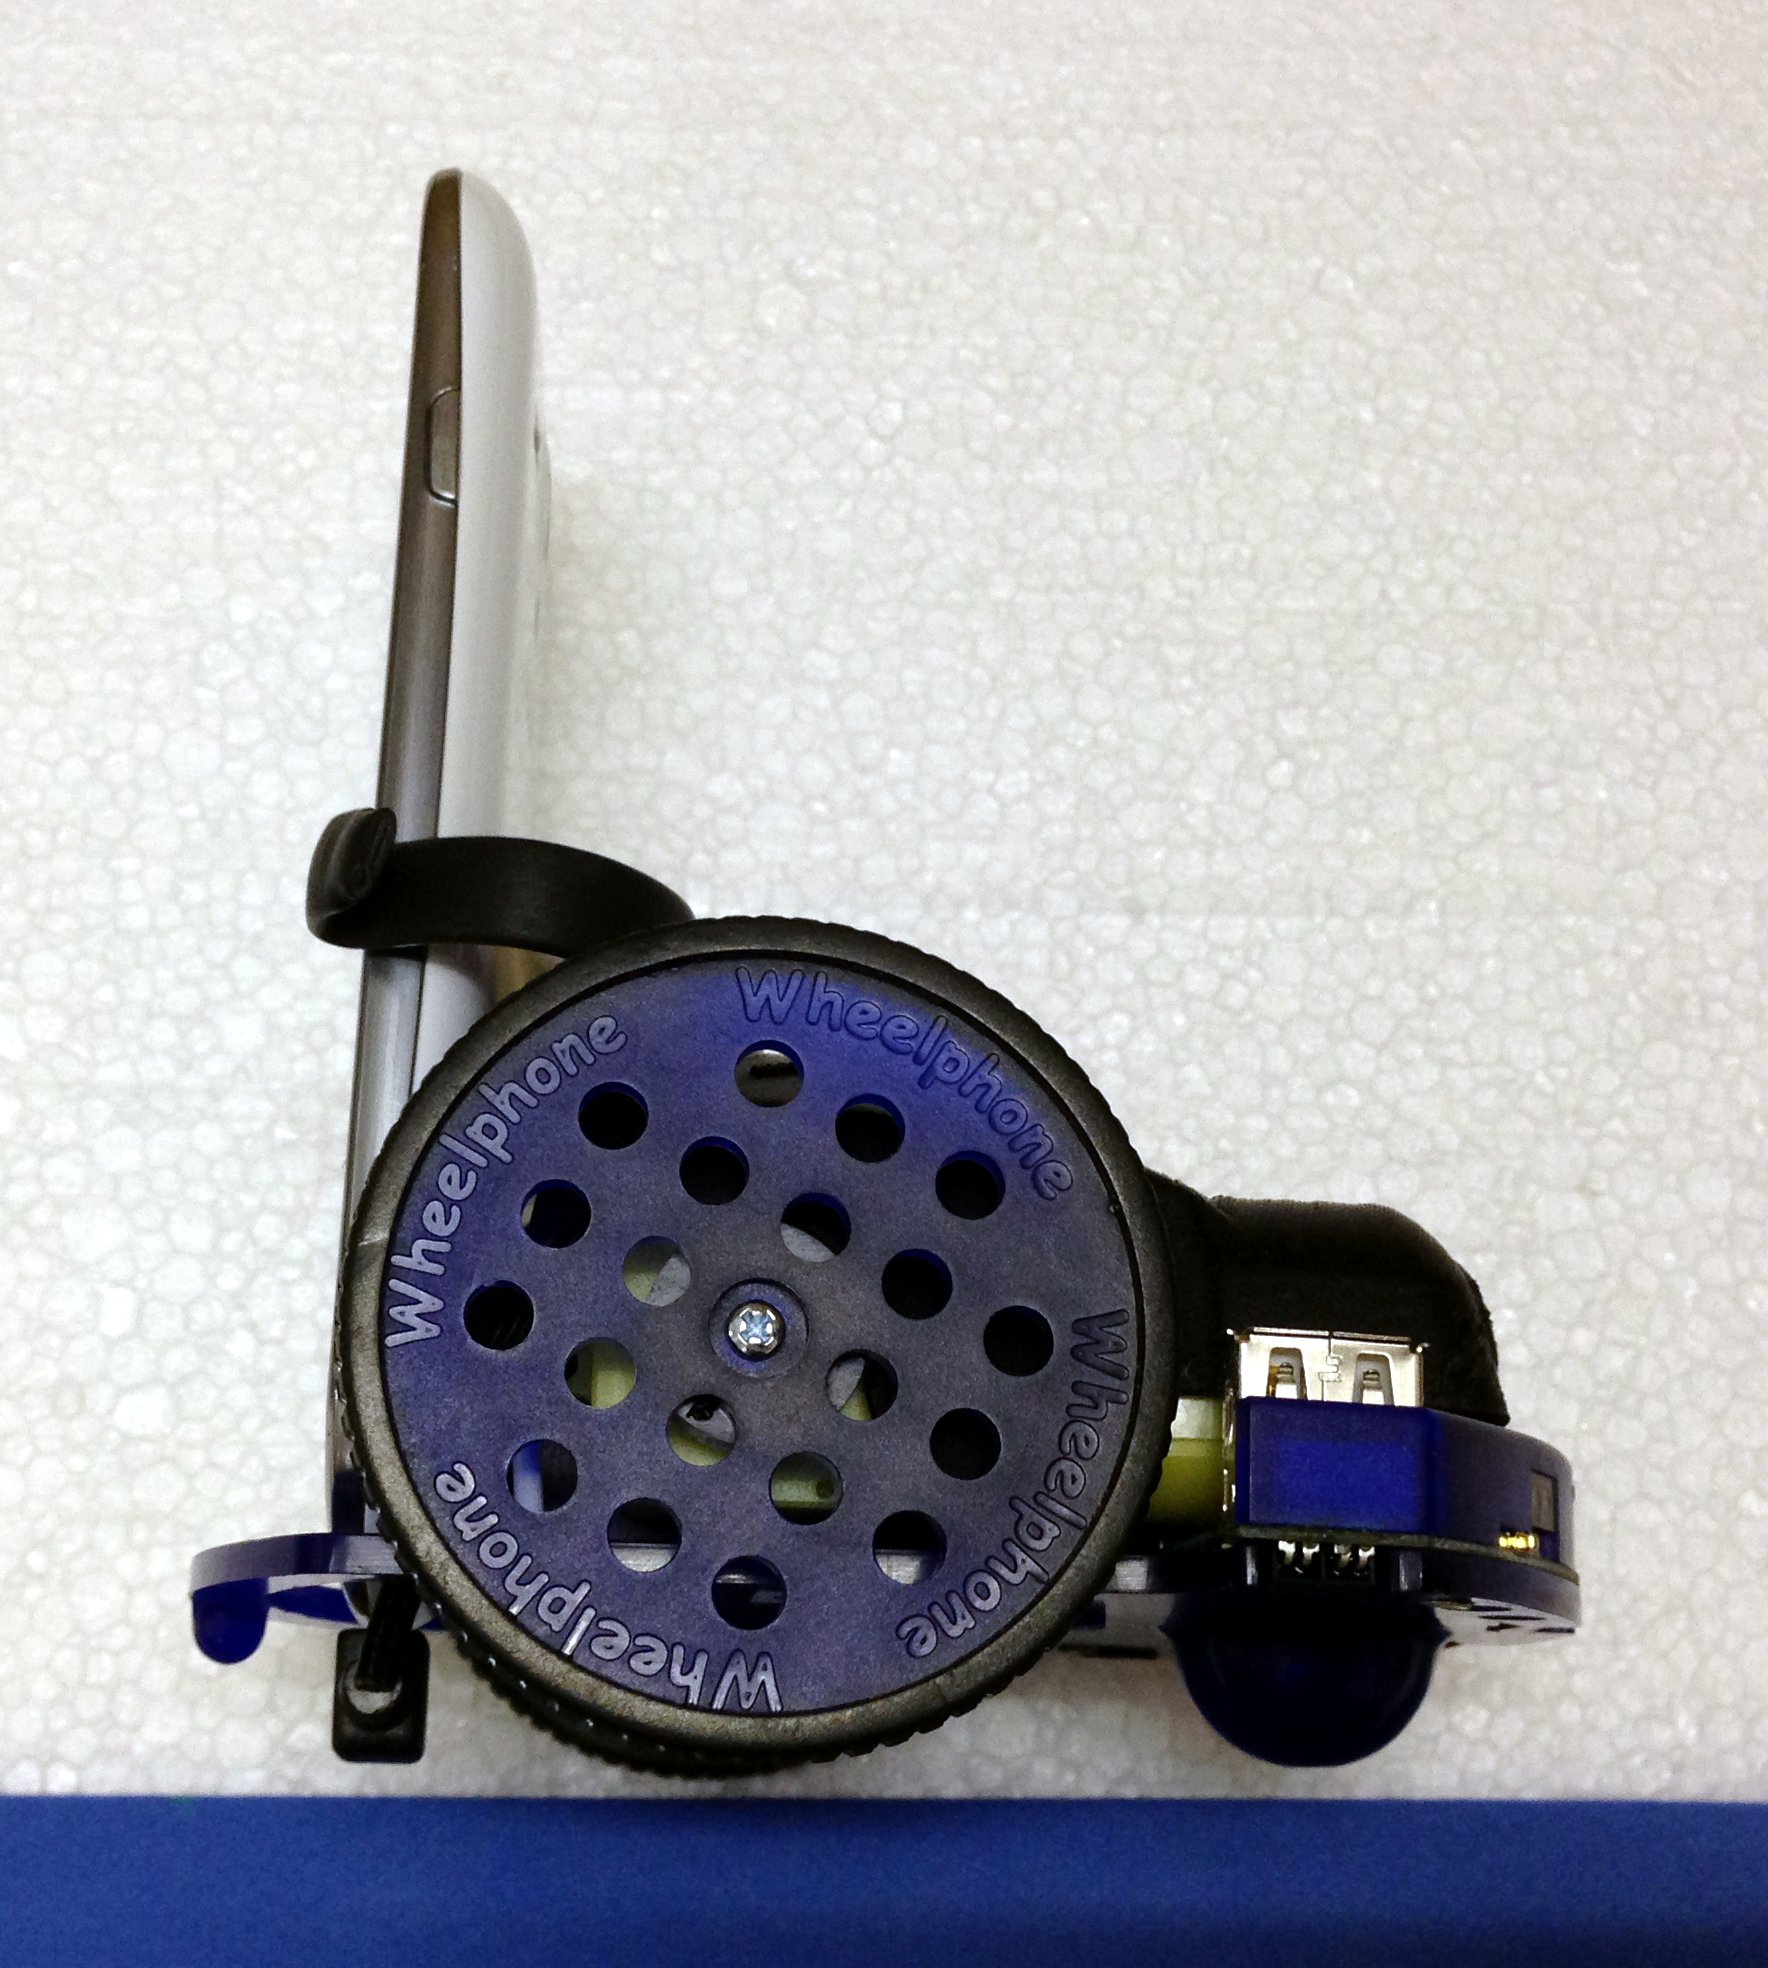
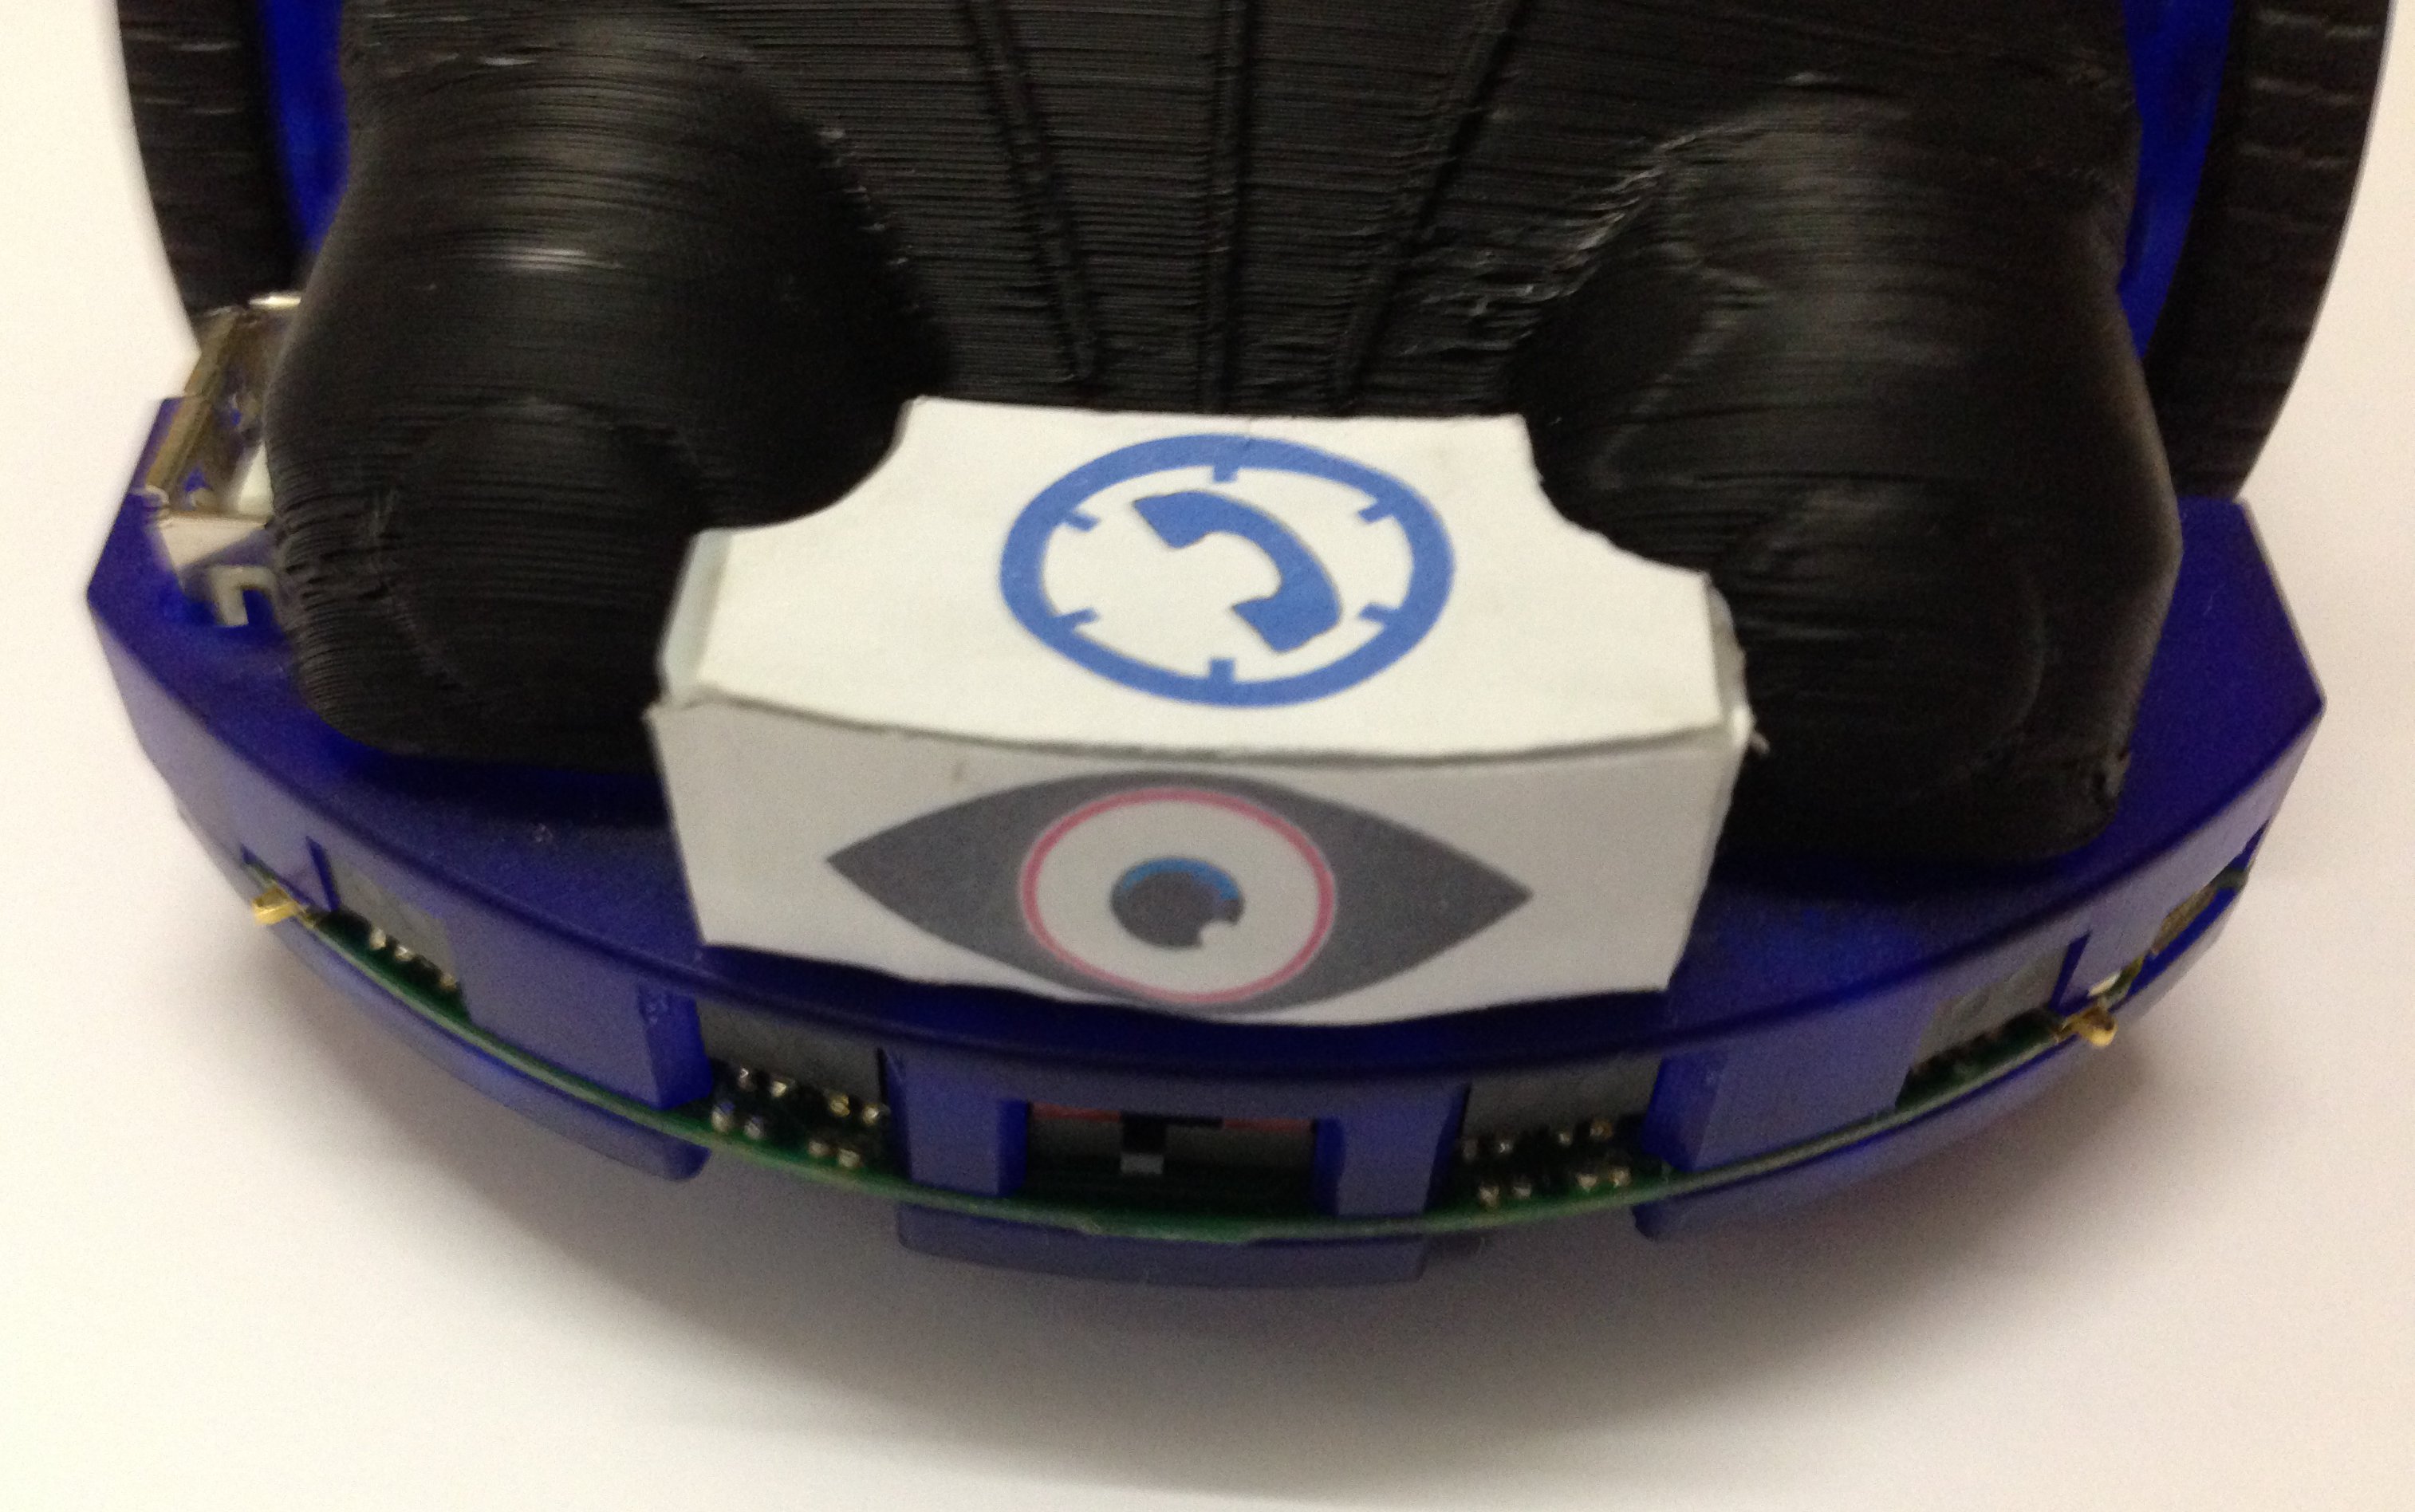
The installation is very easy: just insert it in the case of the robot.
An application that works better with this extension is the markers navigation app that need to detect markers at long distance.
Extra stabilization
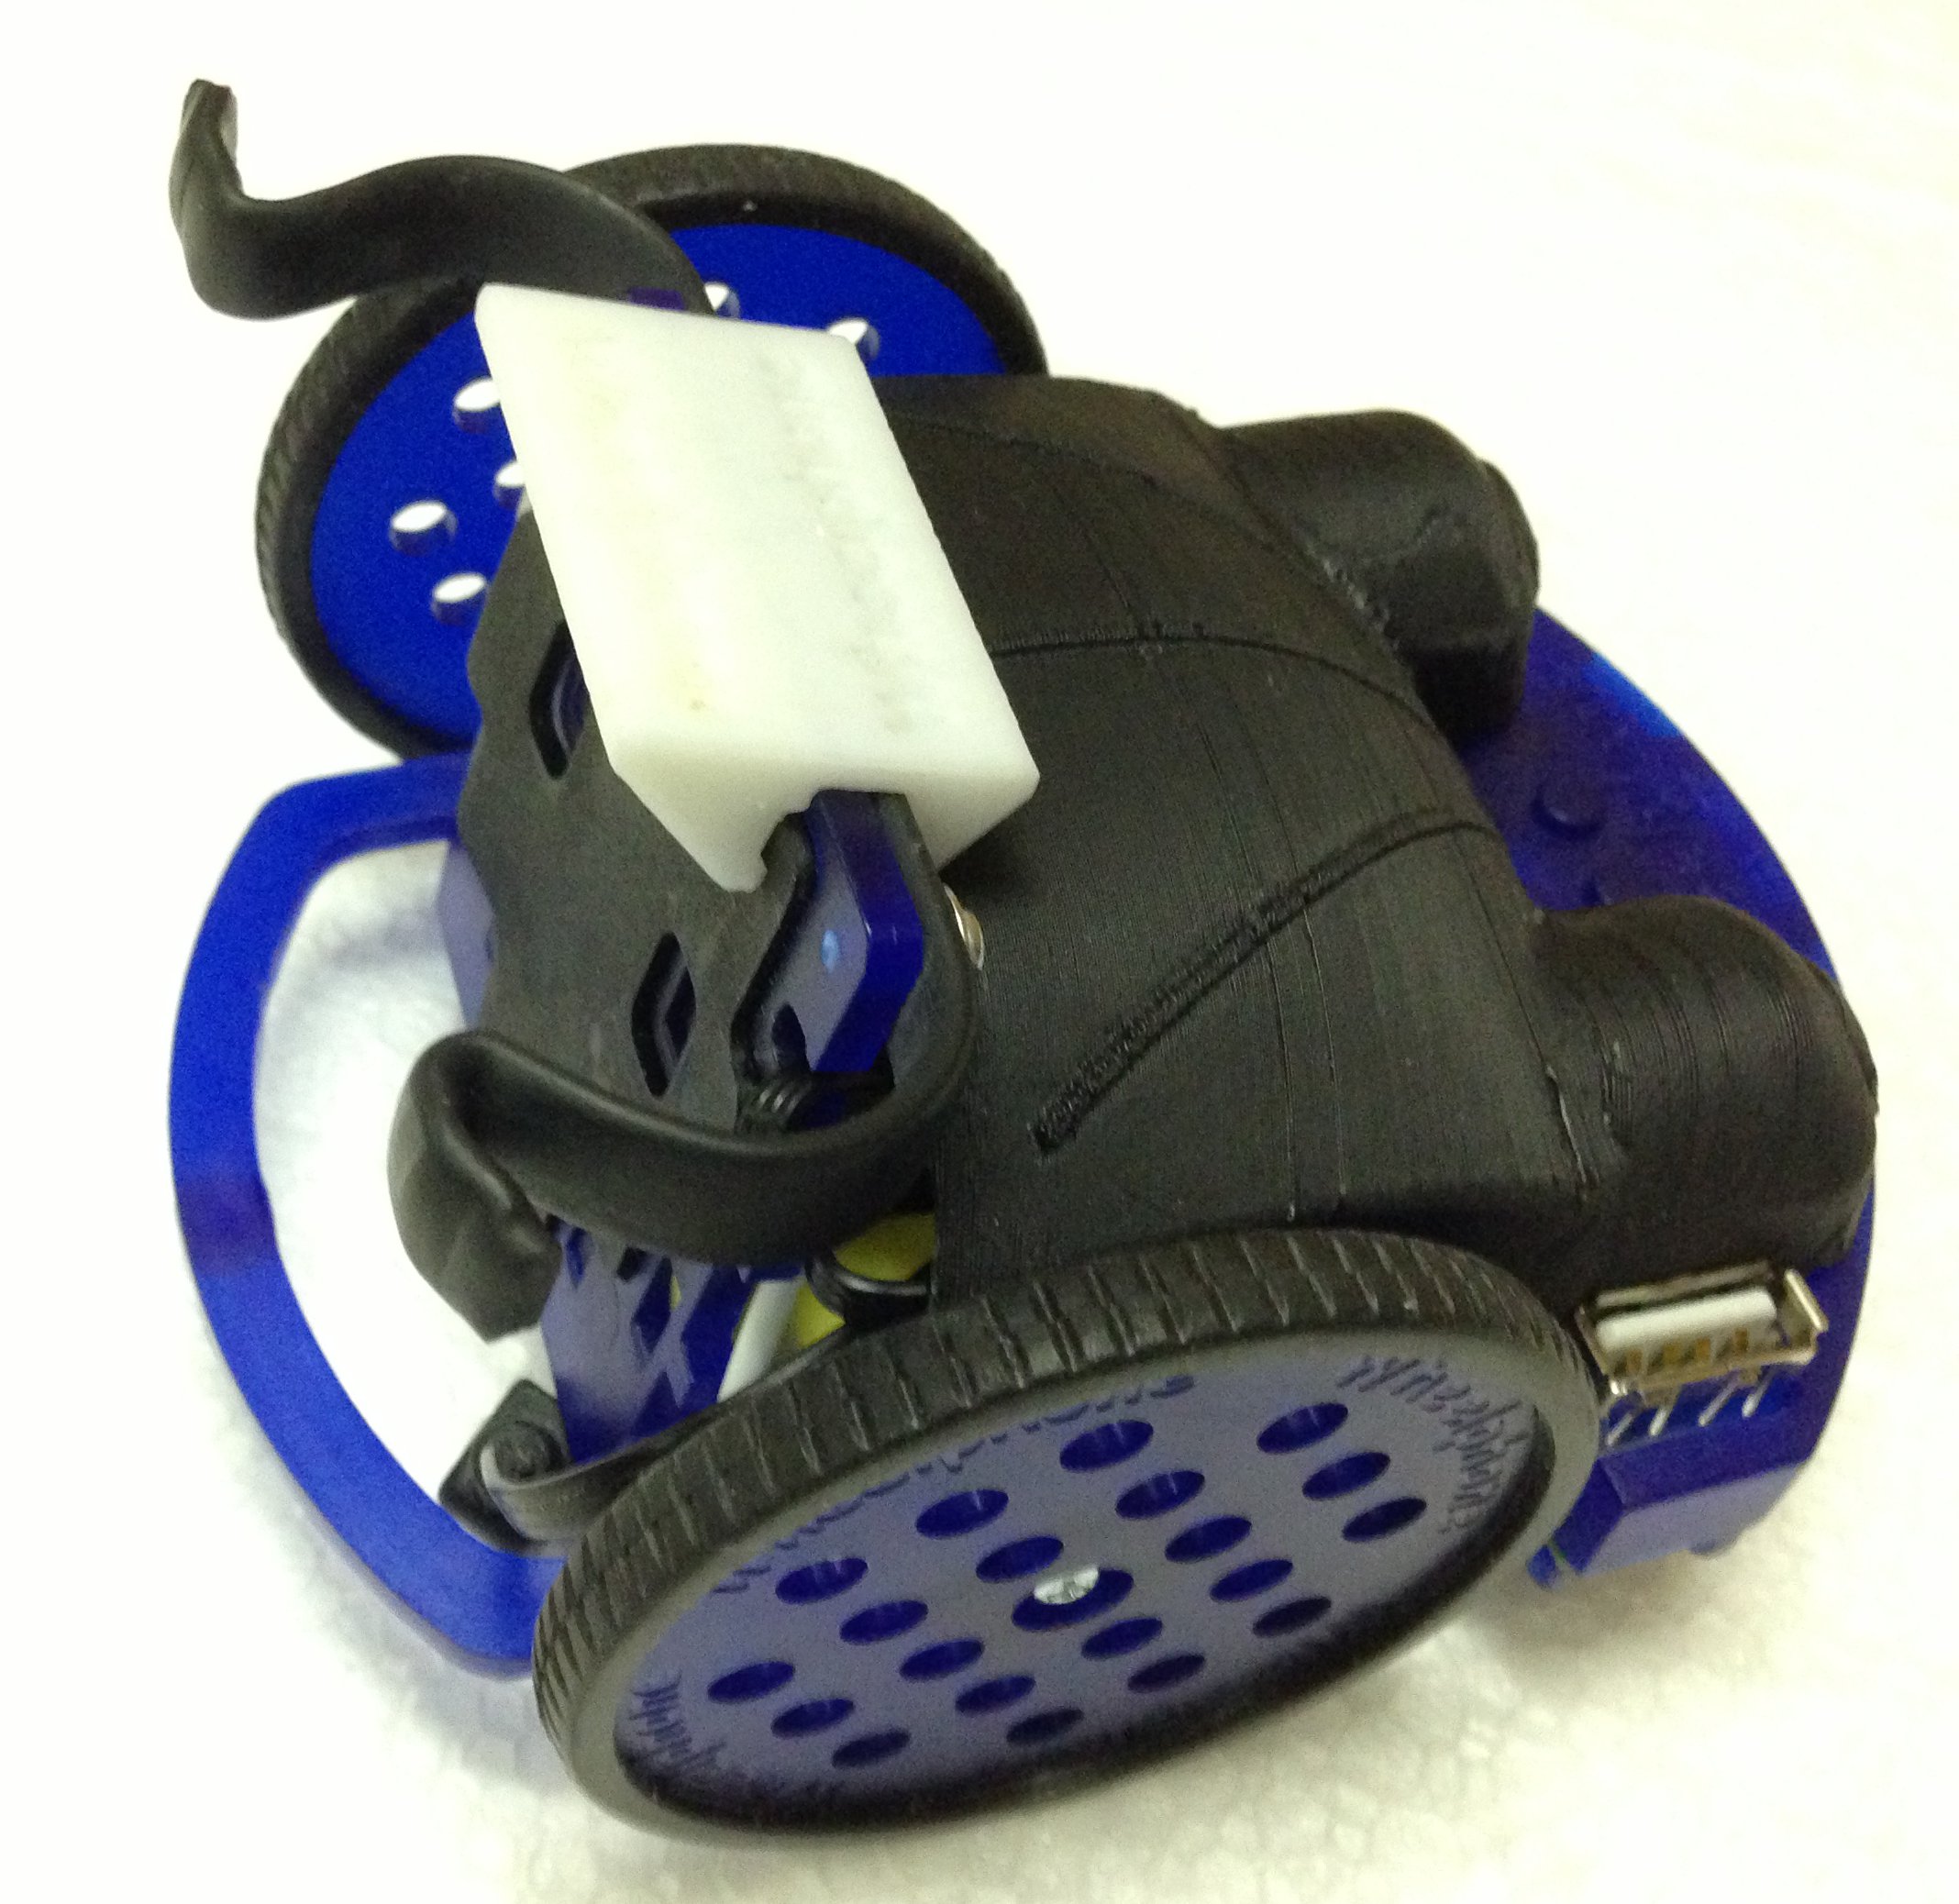
Nowadays phones are always bigger and this is normally an advantage for the user, but the Wheelphone could get in troubles loosing the balance easier. For this reason a little weight can be placed on front of the robot to let it be more stable, especially when little ground obstacles need to be overcome. The following figure shows the plastic container (filled with lead) positioned on front of the robot thanks to the "lego connectors":
The plastic container is covered with some nice pictures, but you can put whatever images you like.
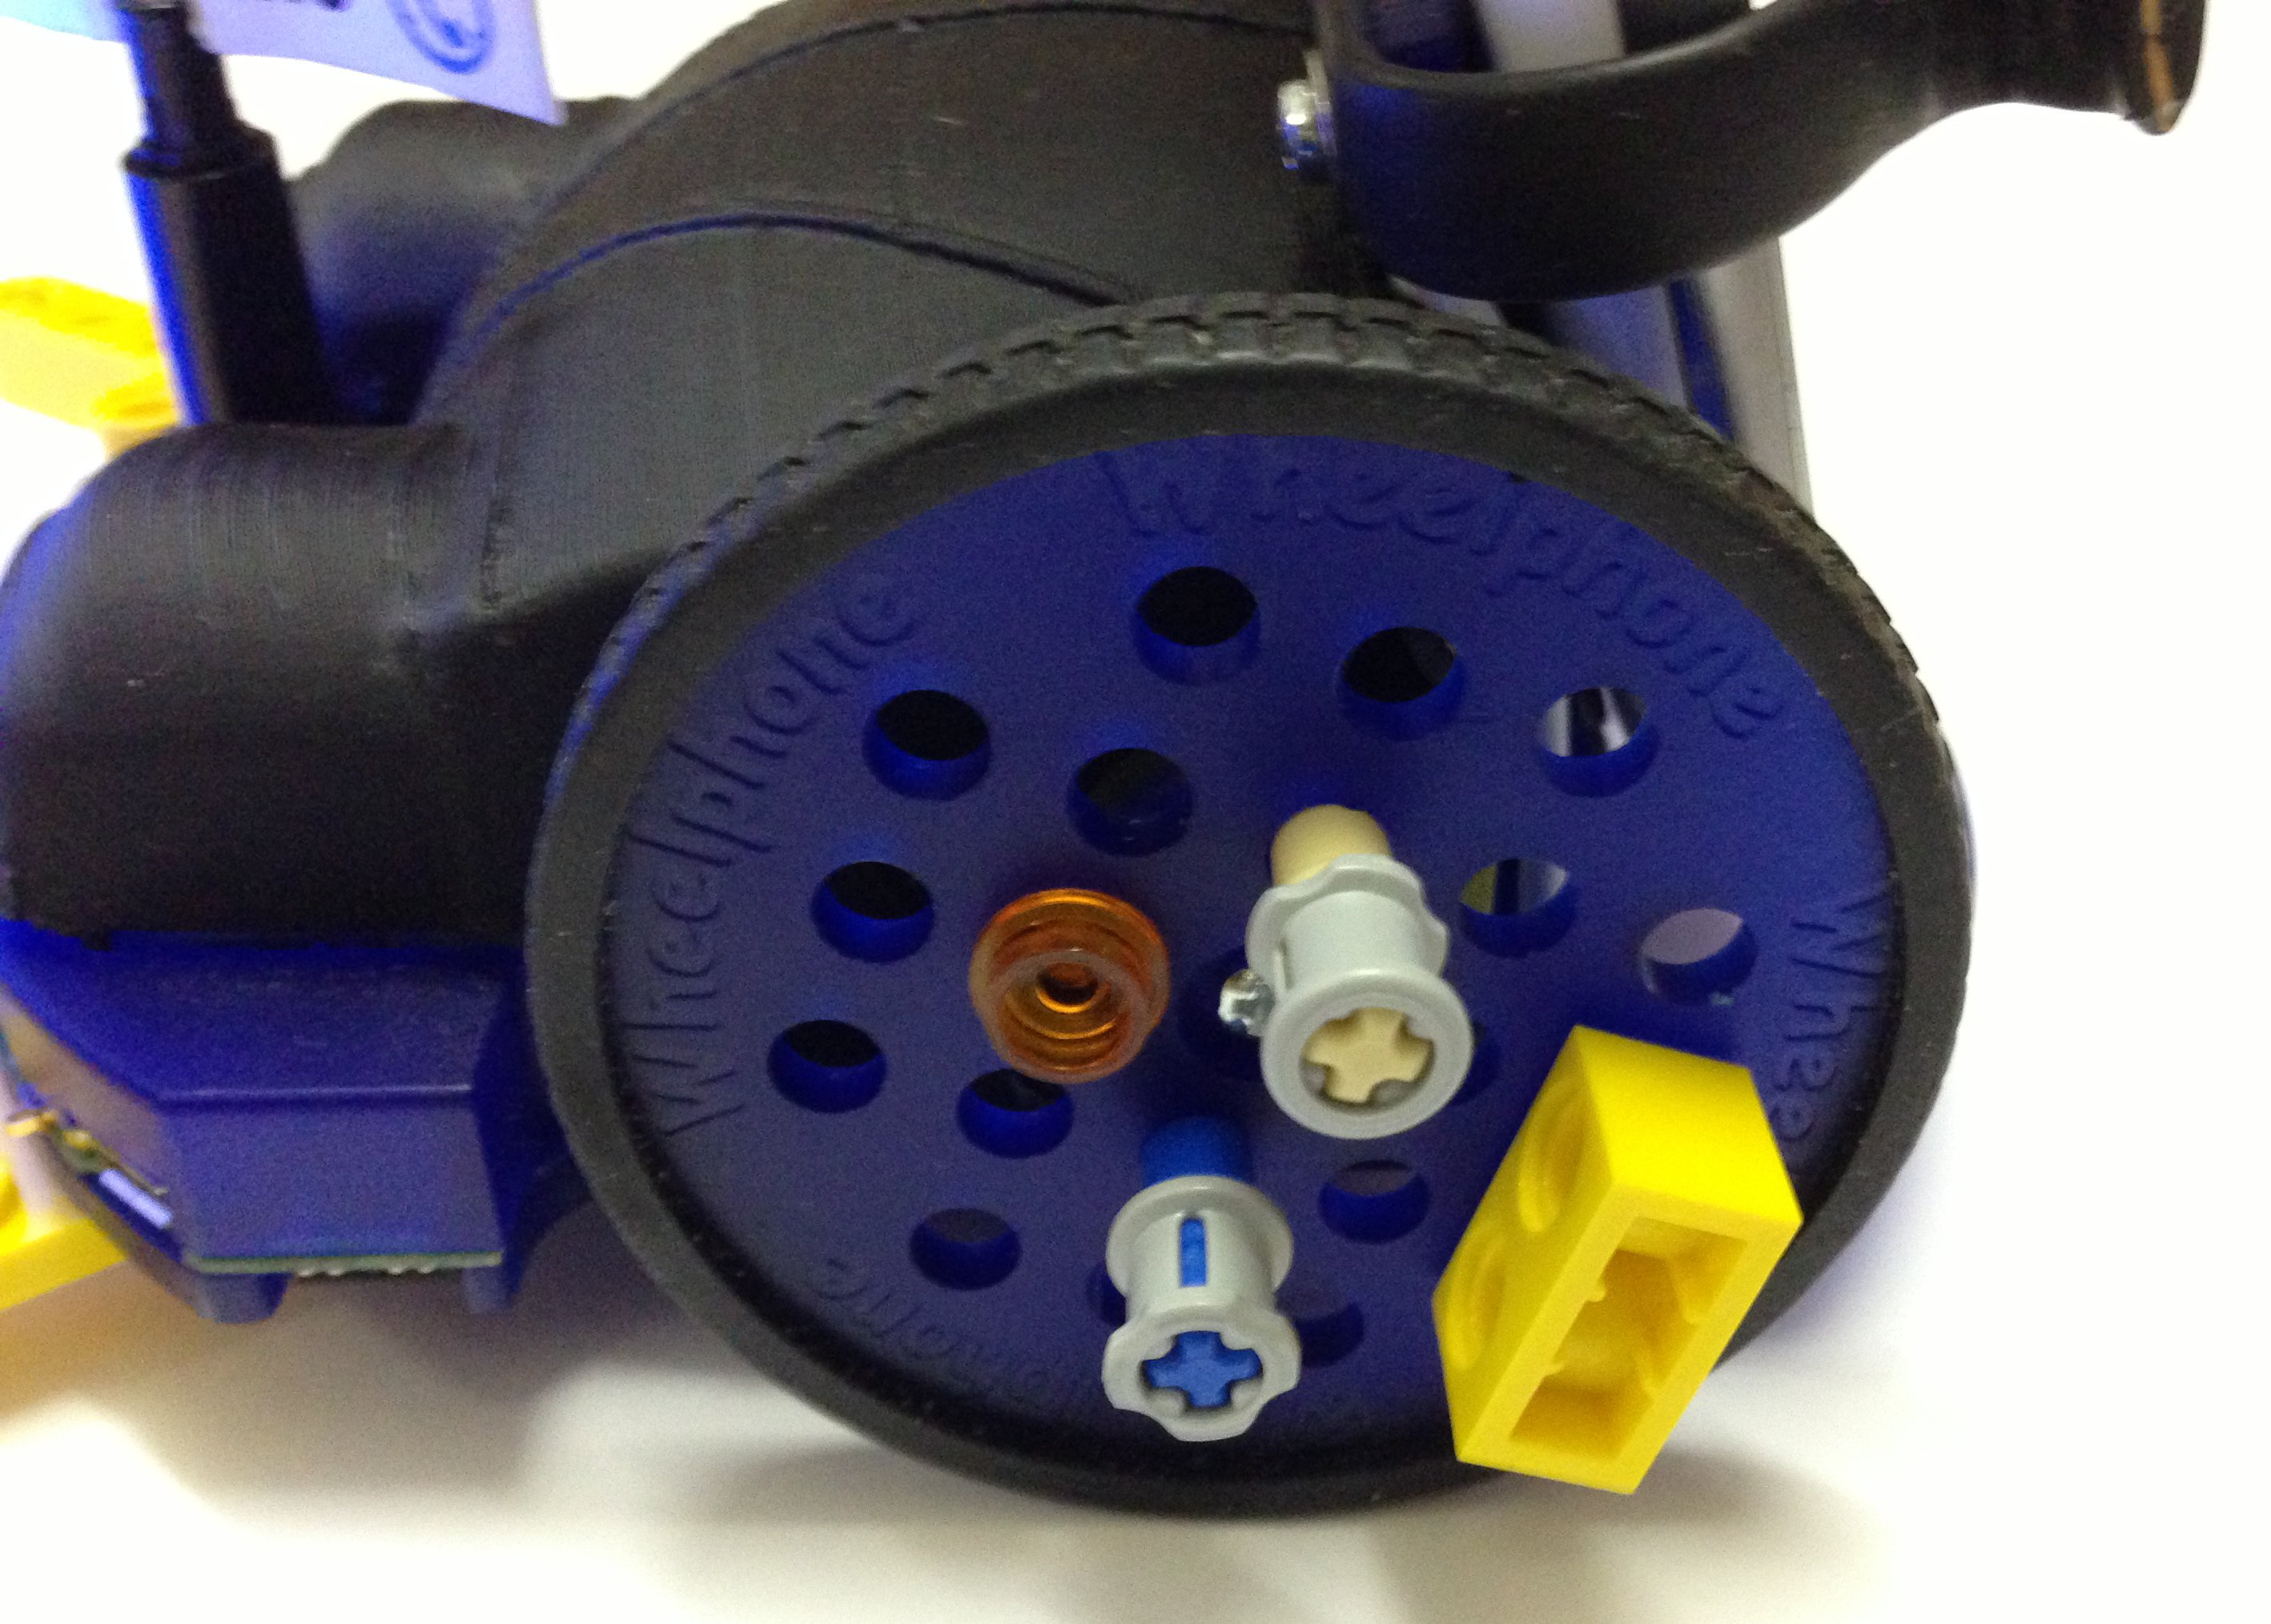
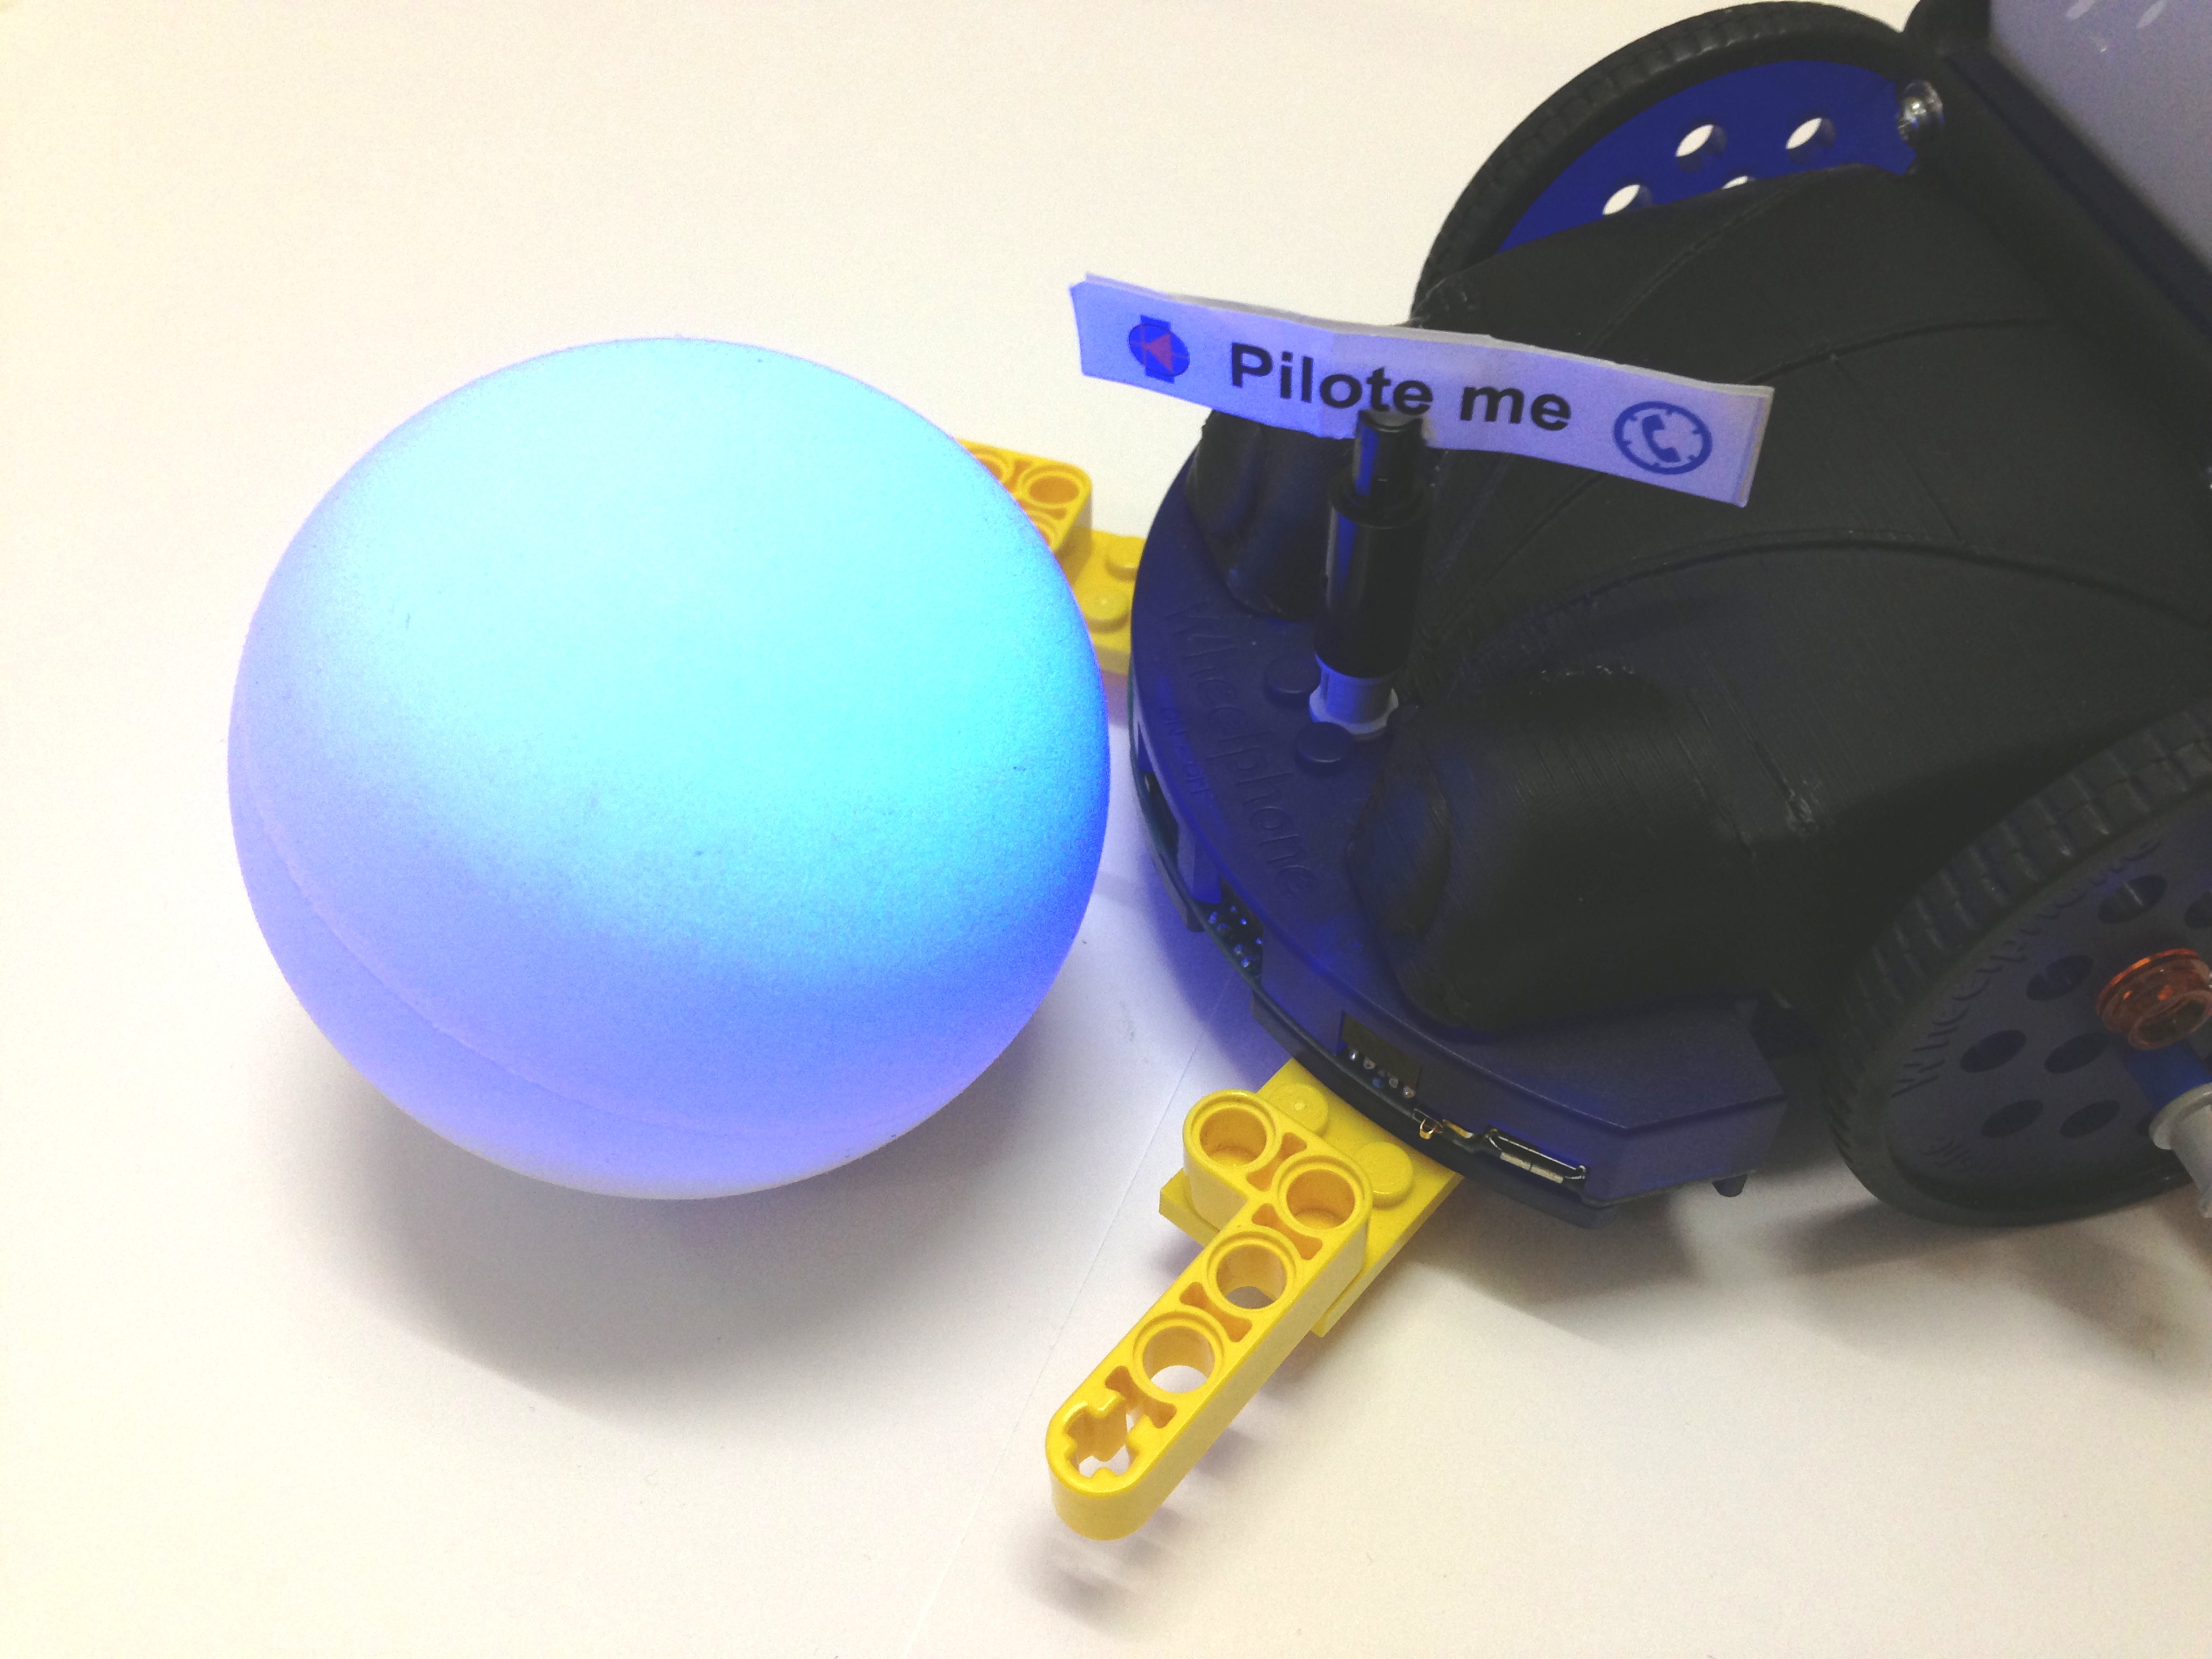
Play with lego
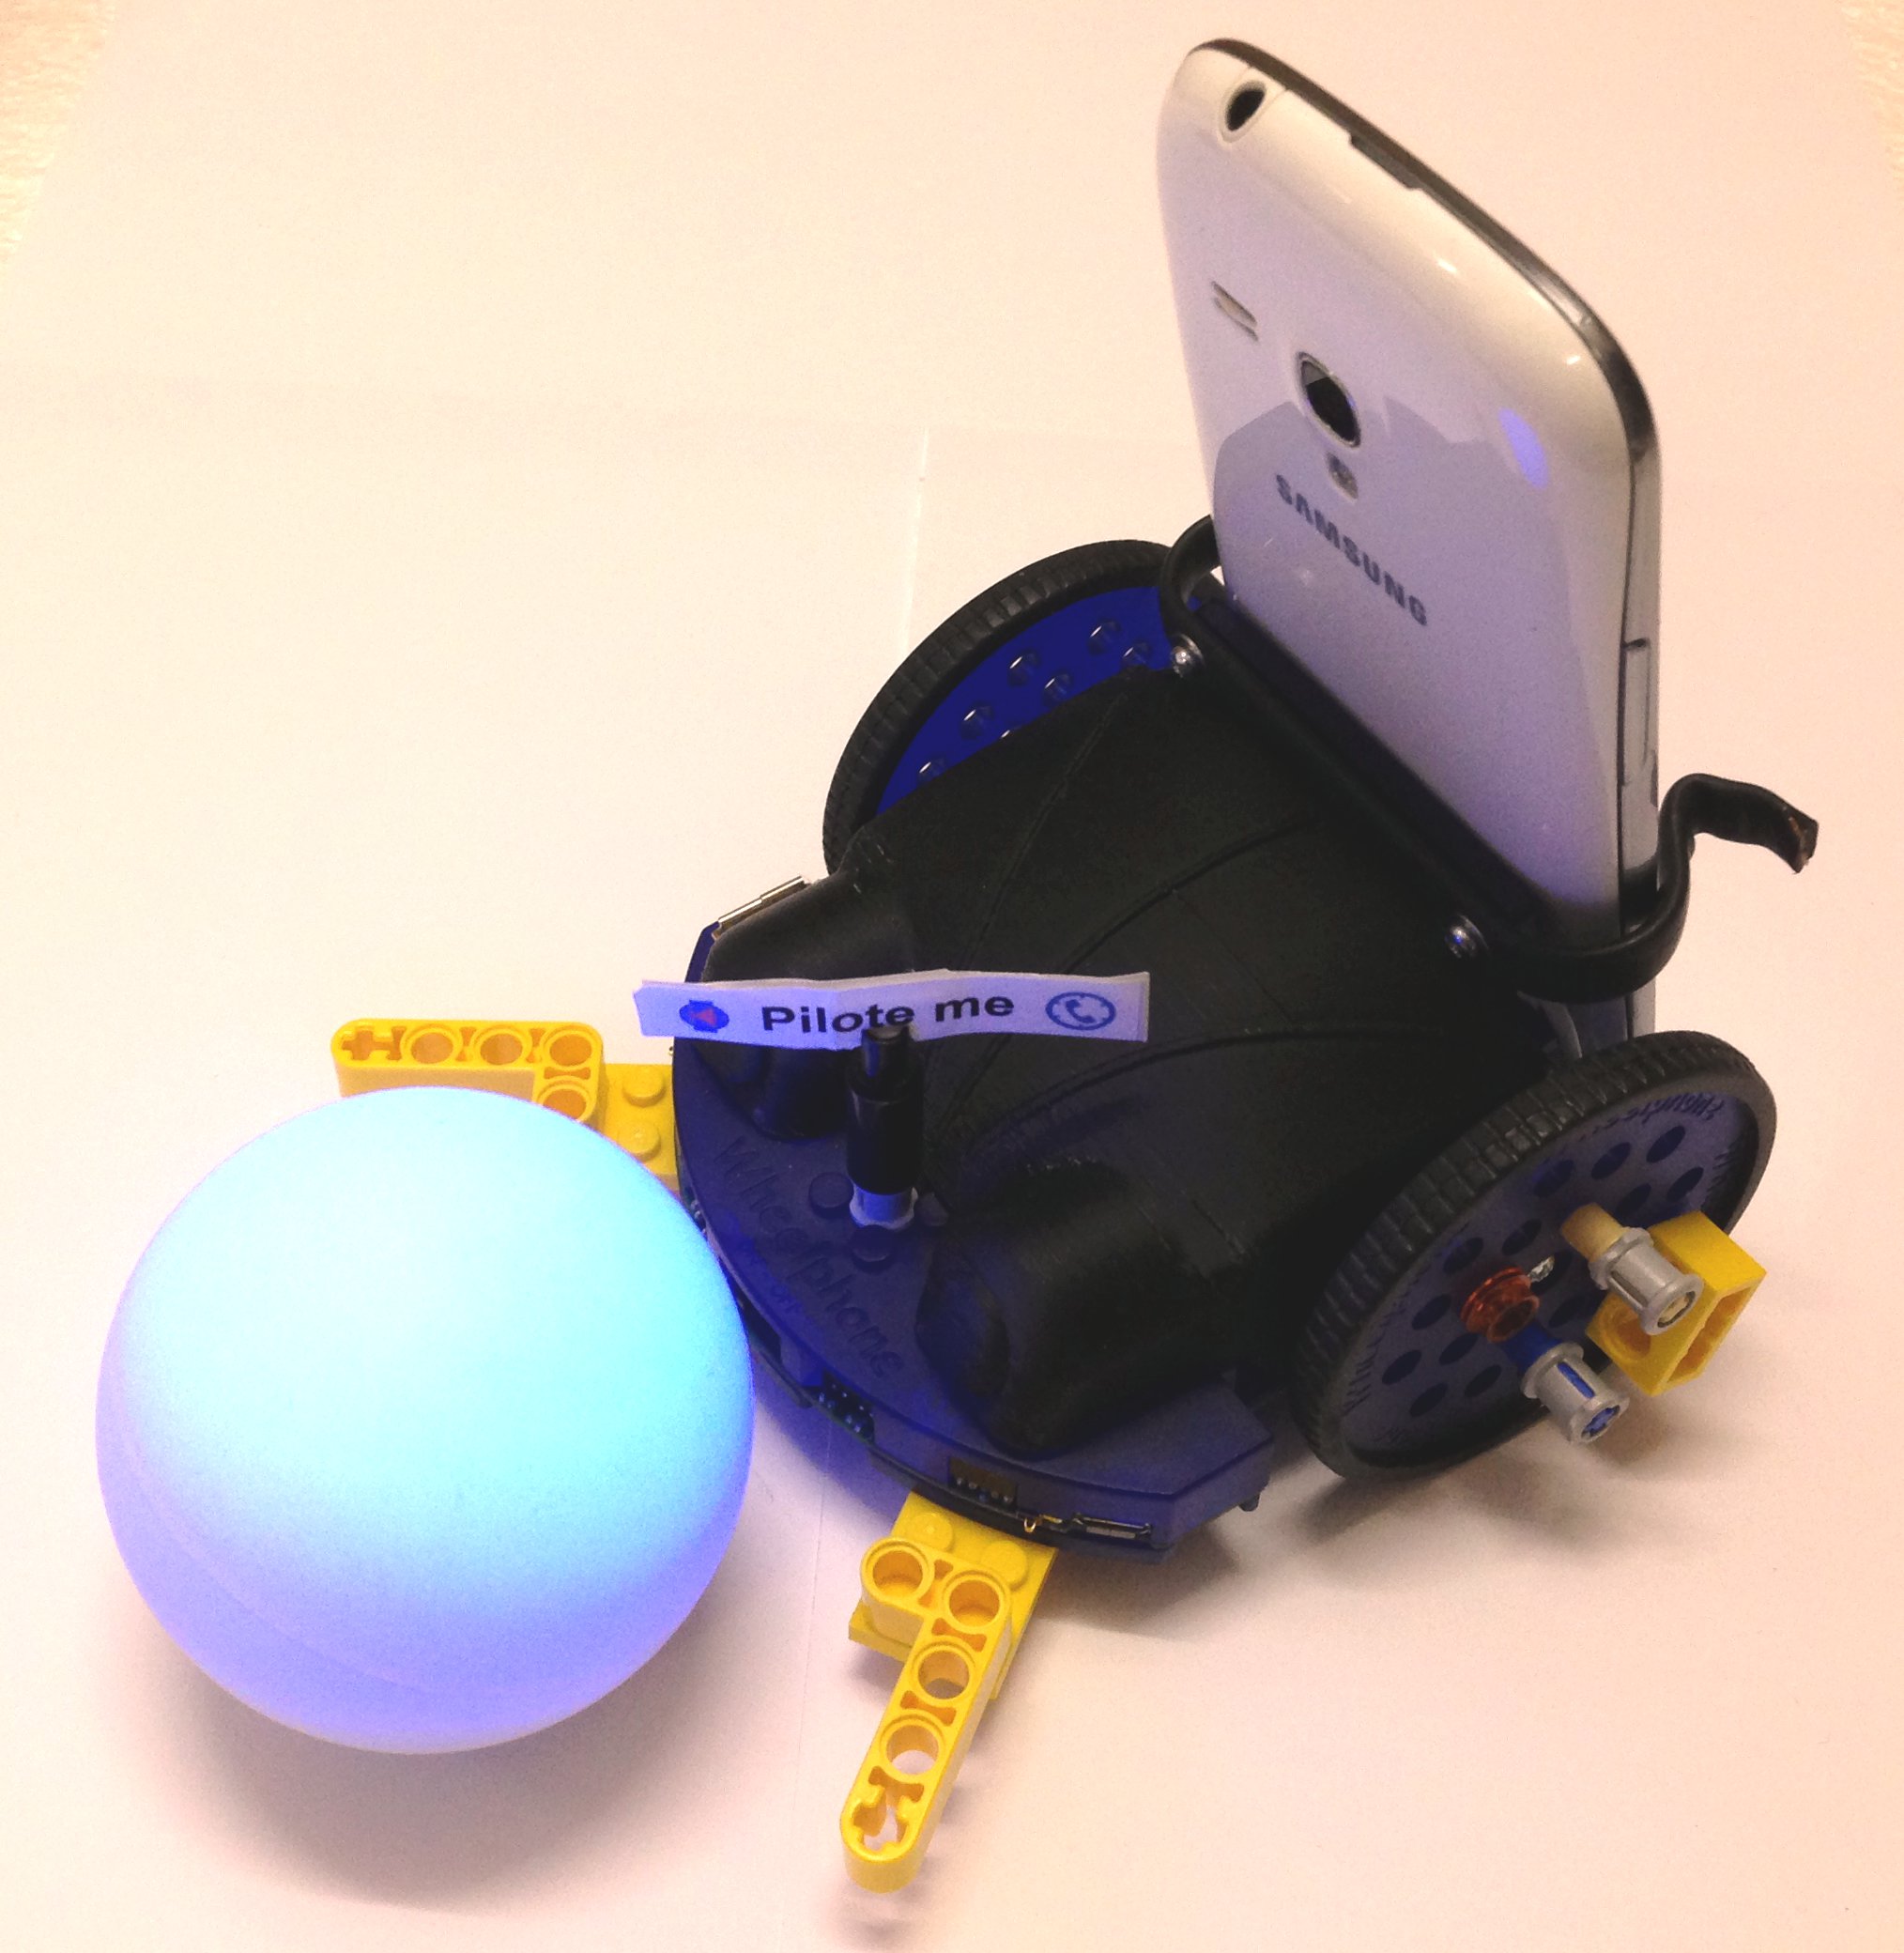
The Wheelphone robot has some "lego connectors" around in the case (i.e. in the bottom side near the ground sensors, in the front side over the proximity sensors, in the wheels, ...). The following figures show some lego pieces attached to the Wheelphone, e.g. you can attach two arms and play with a ball, or you can send some message to your friends, ...your fantasy is the limit.
Artist extension
Brings out your artistic side with this extension that let you attach a pen in the back side of the robot. The installation is very easy, the piece must be framed to the case as shown below:
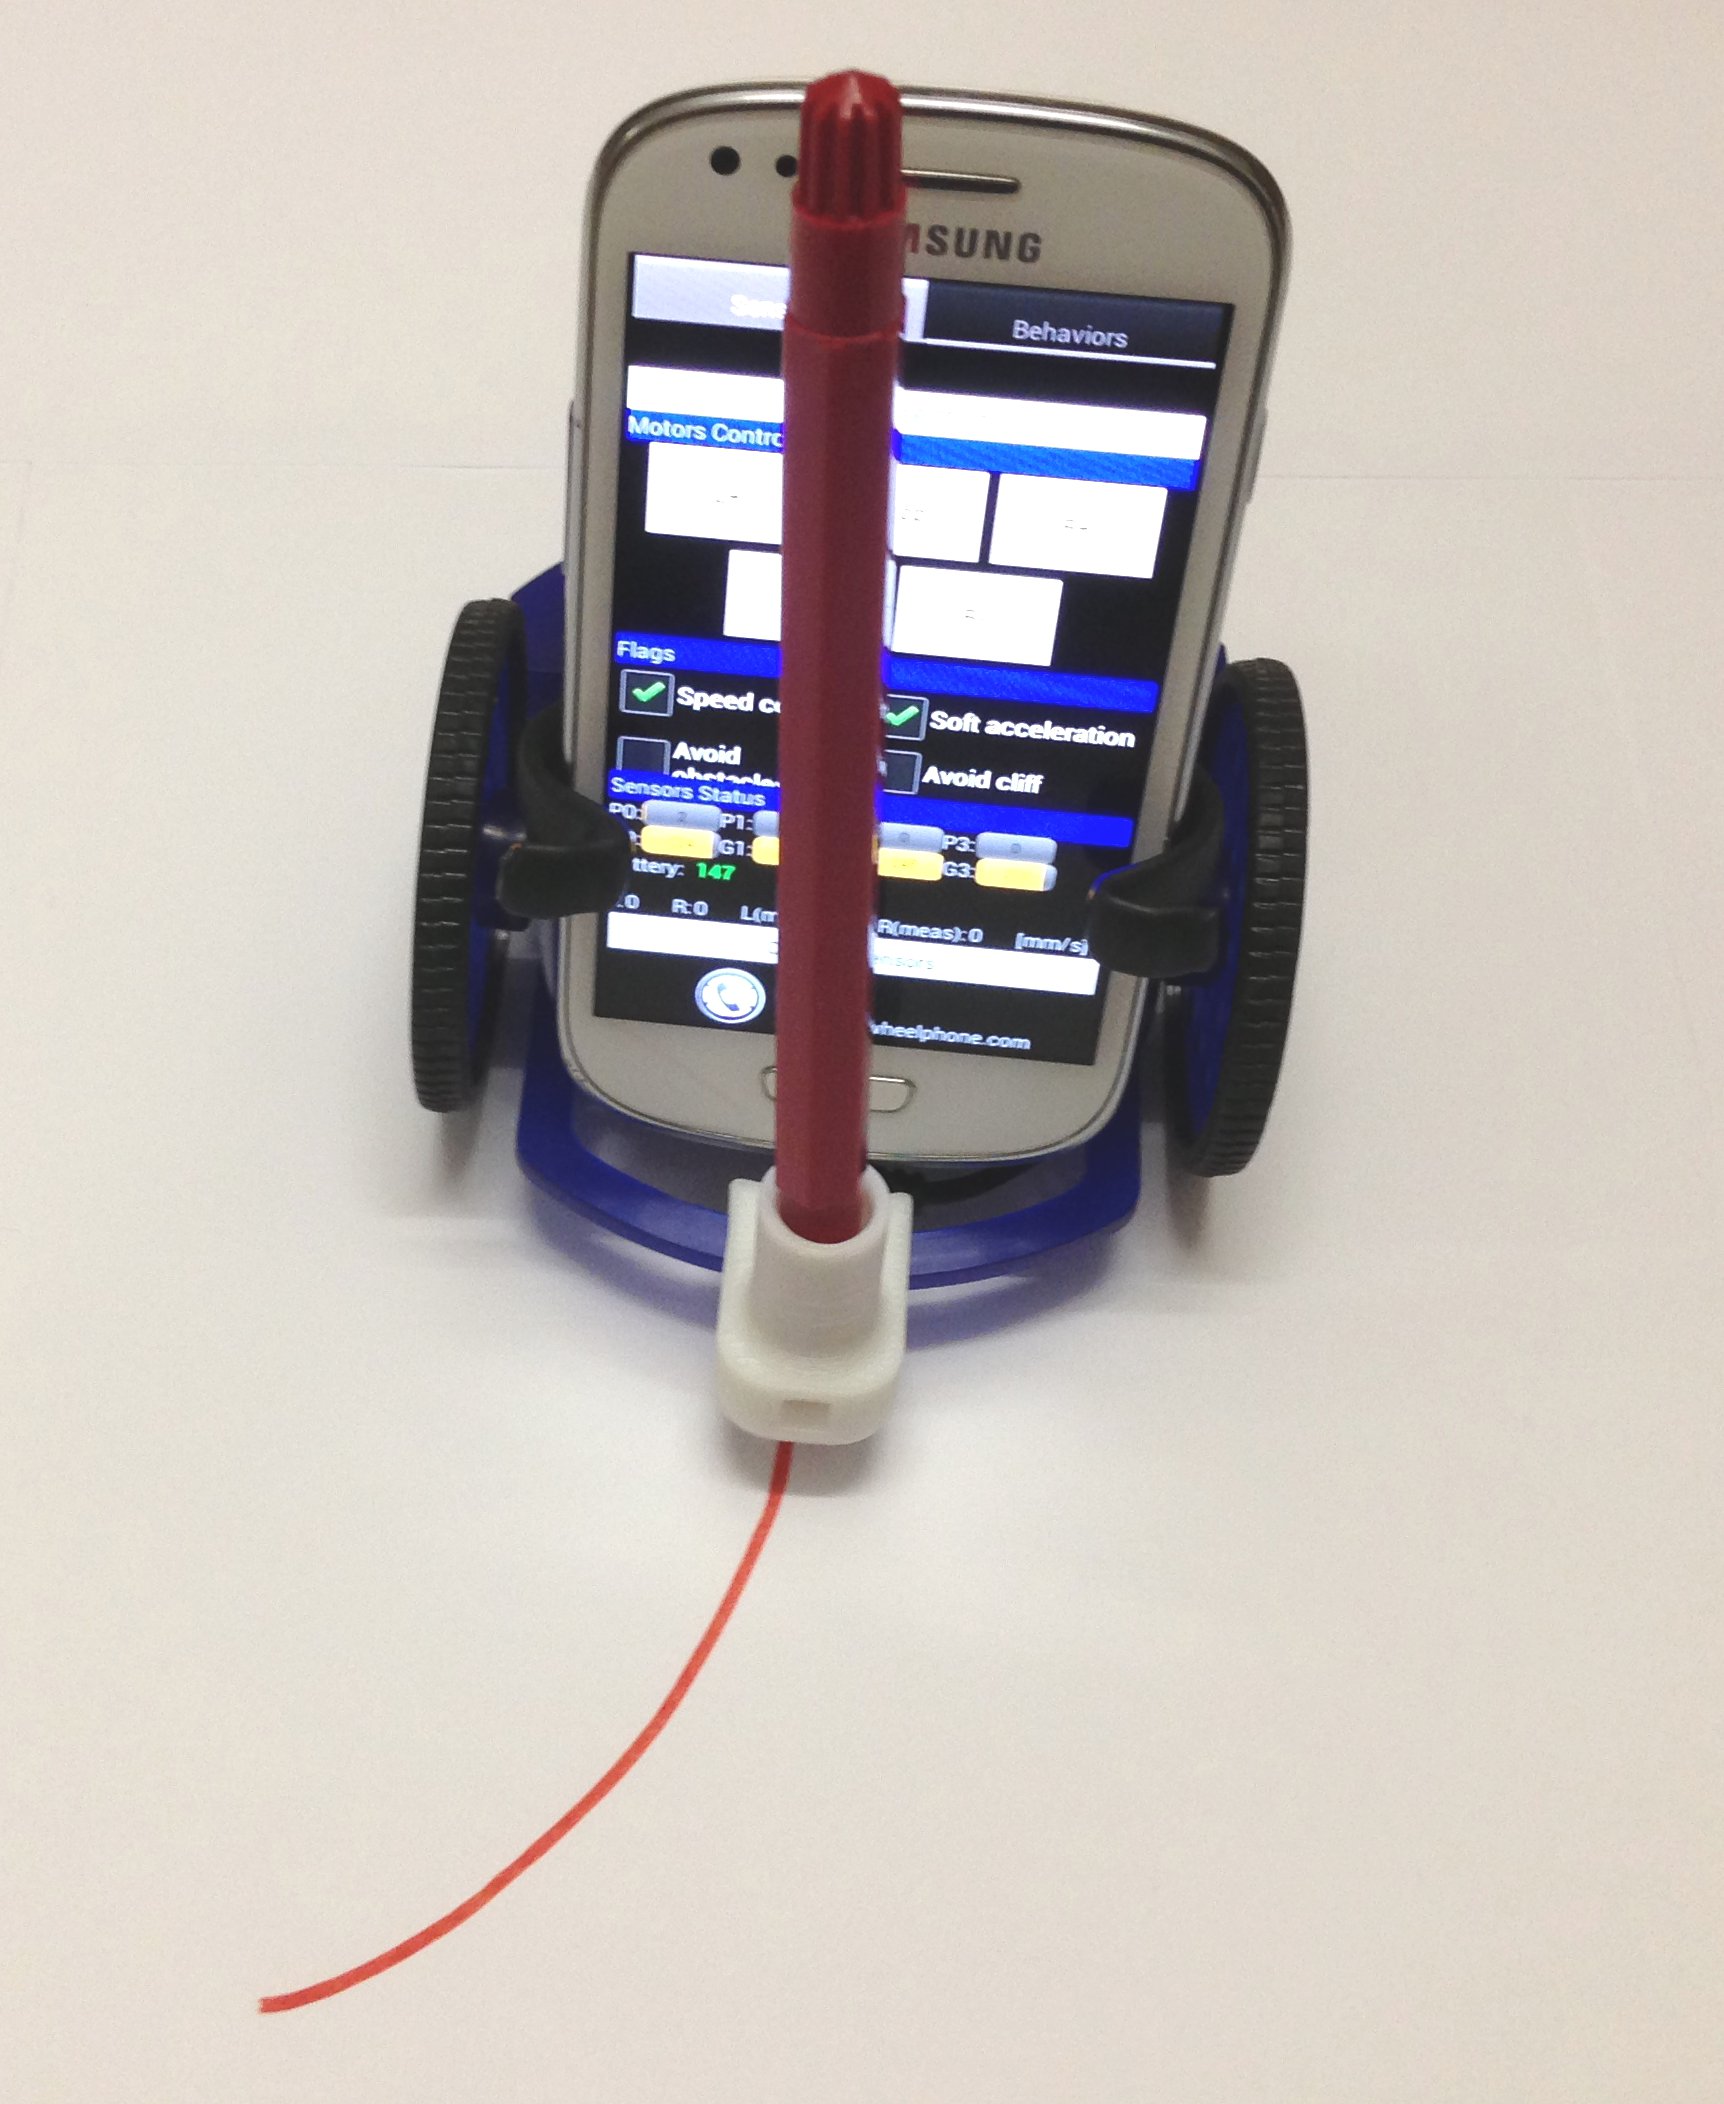

The following video shows an example:
It's not a perfect heart, it's art ;-)
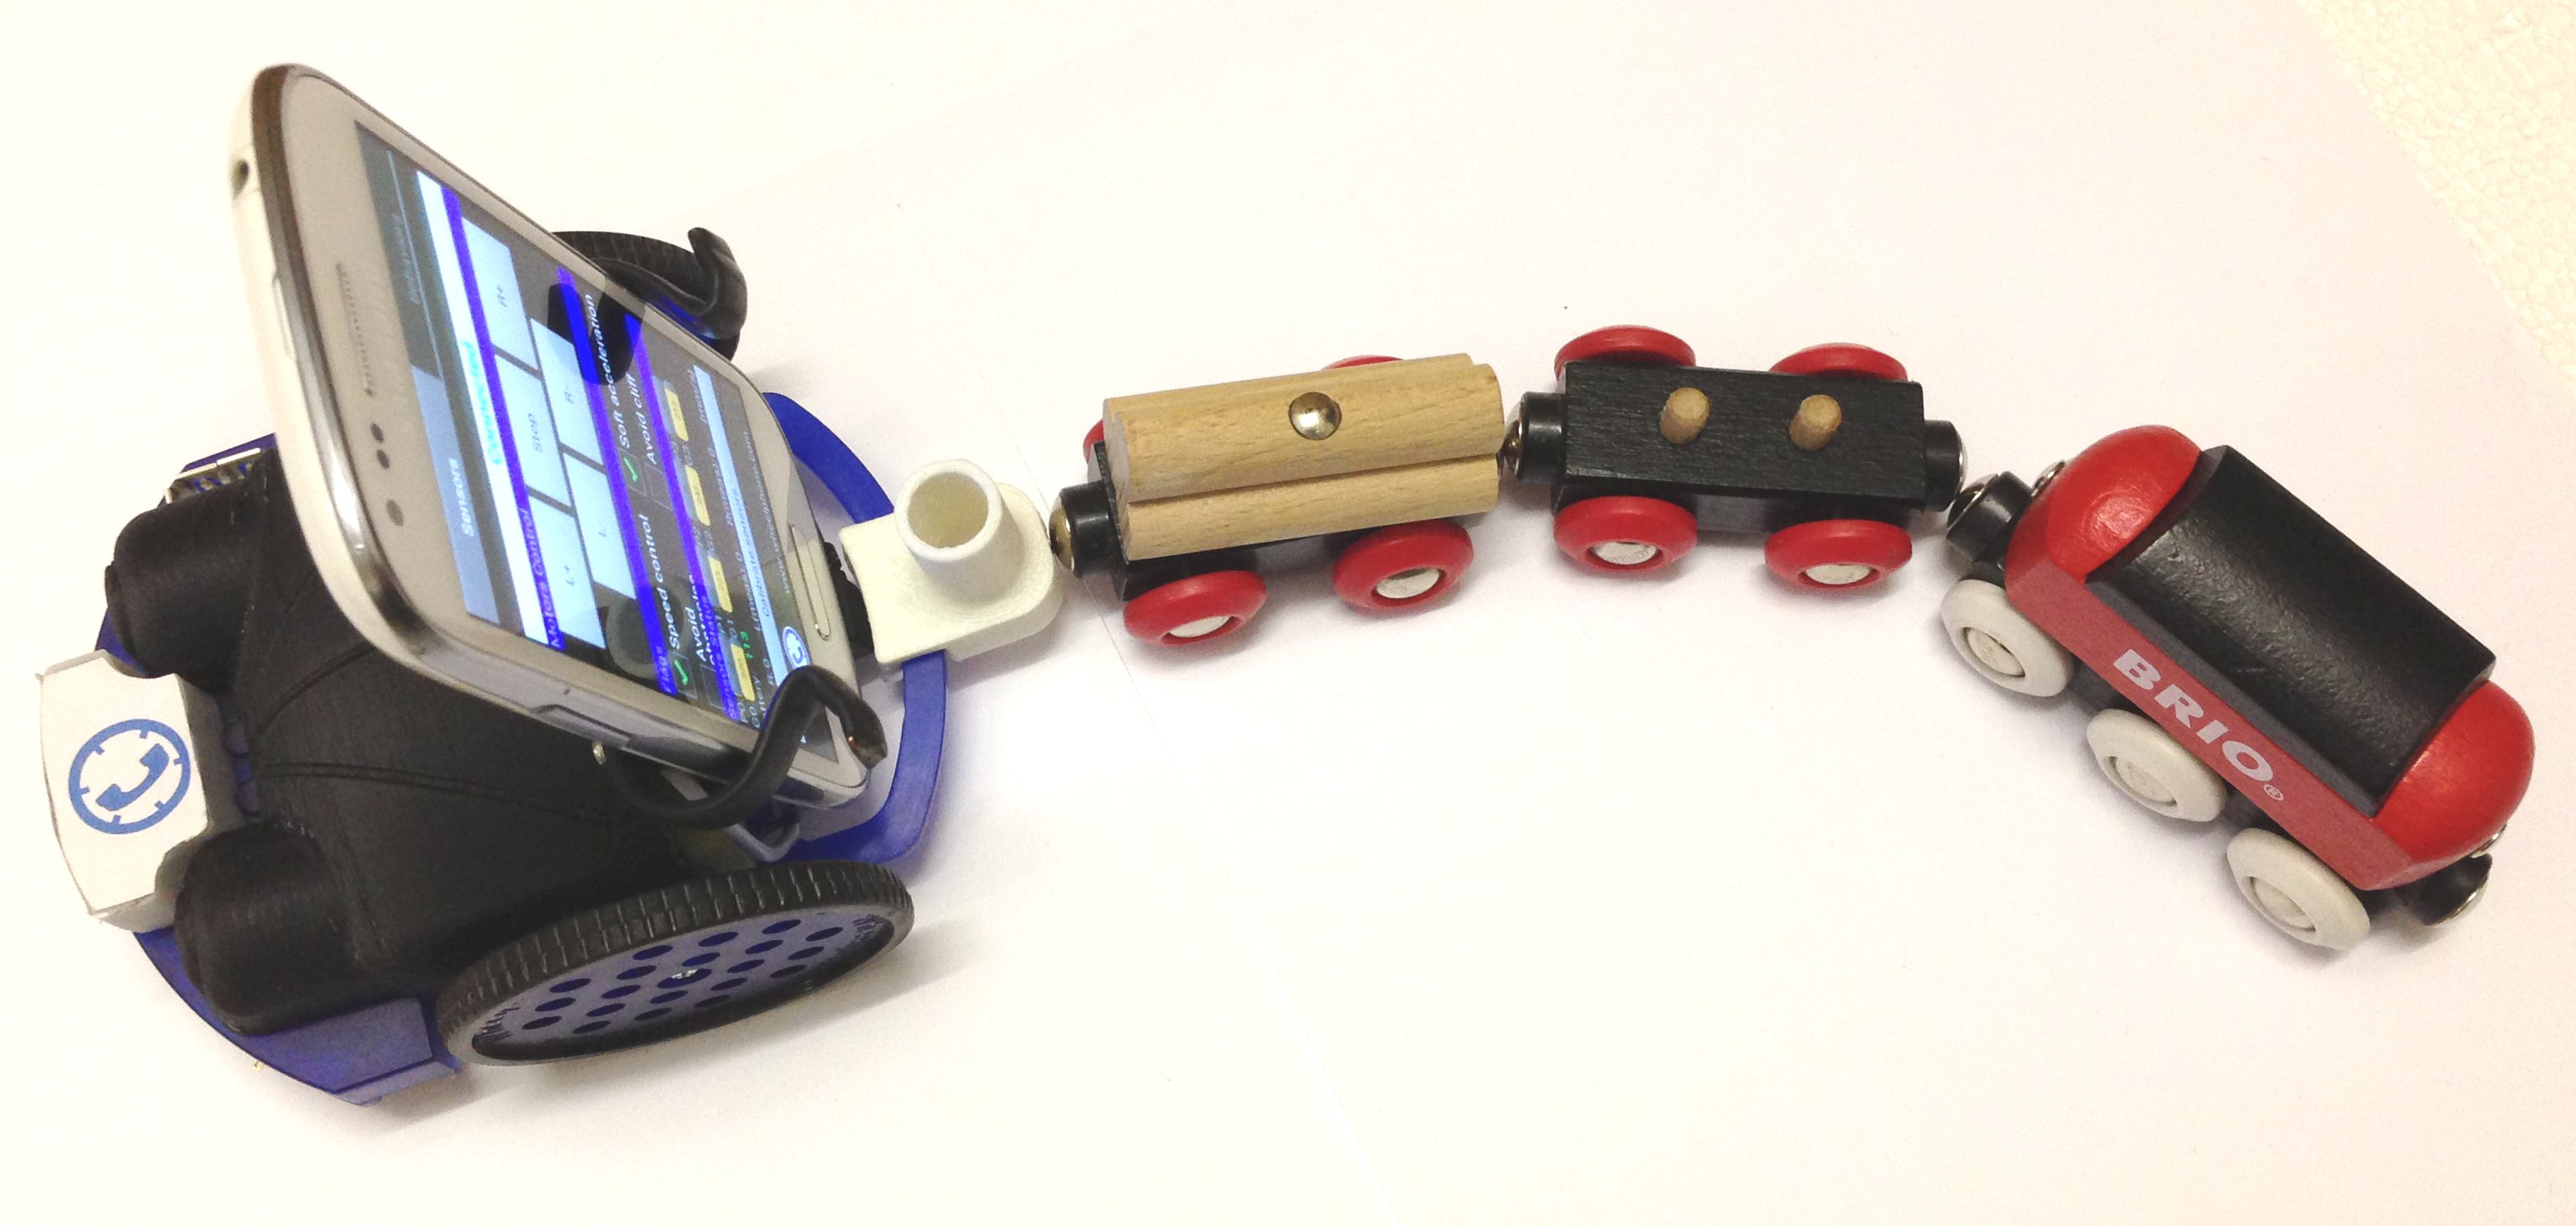
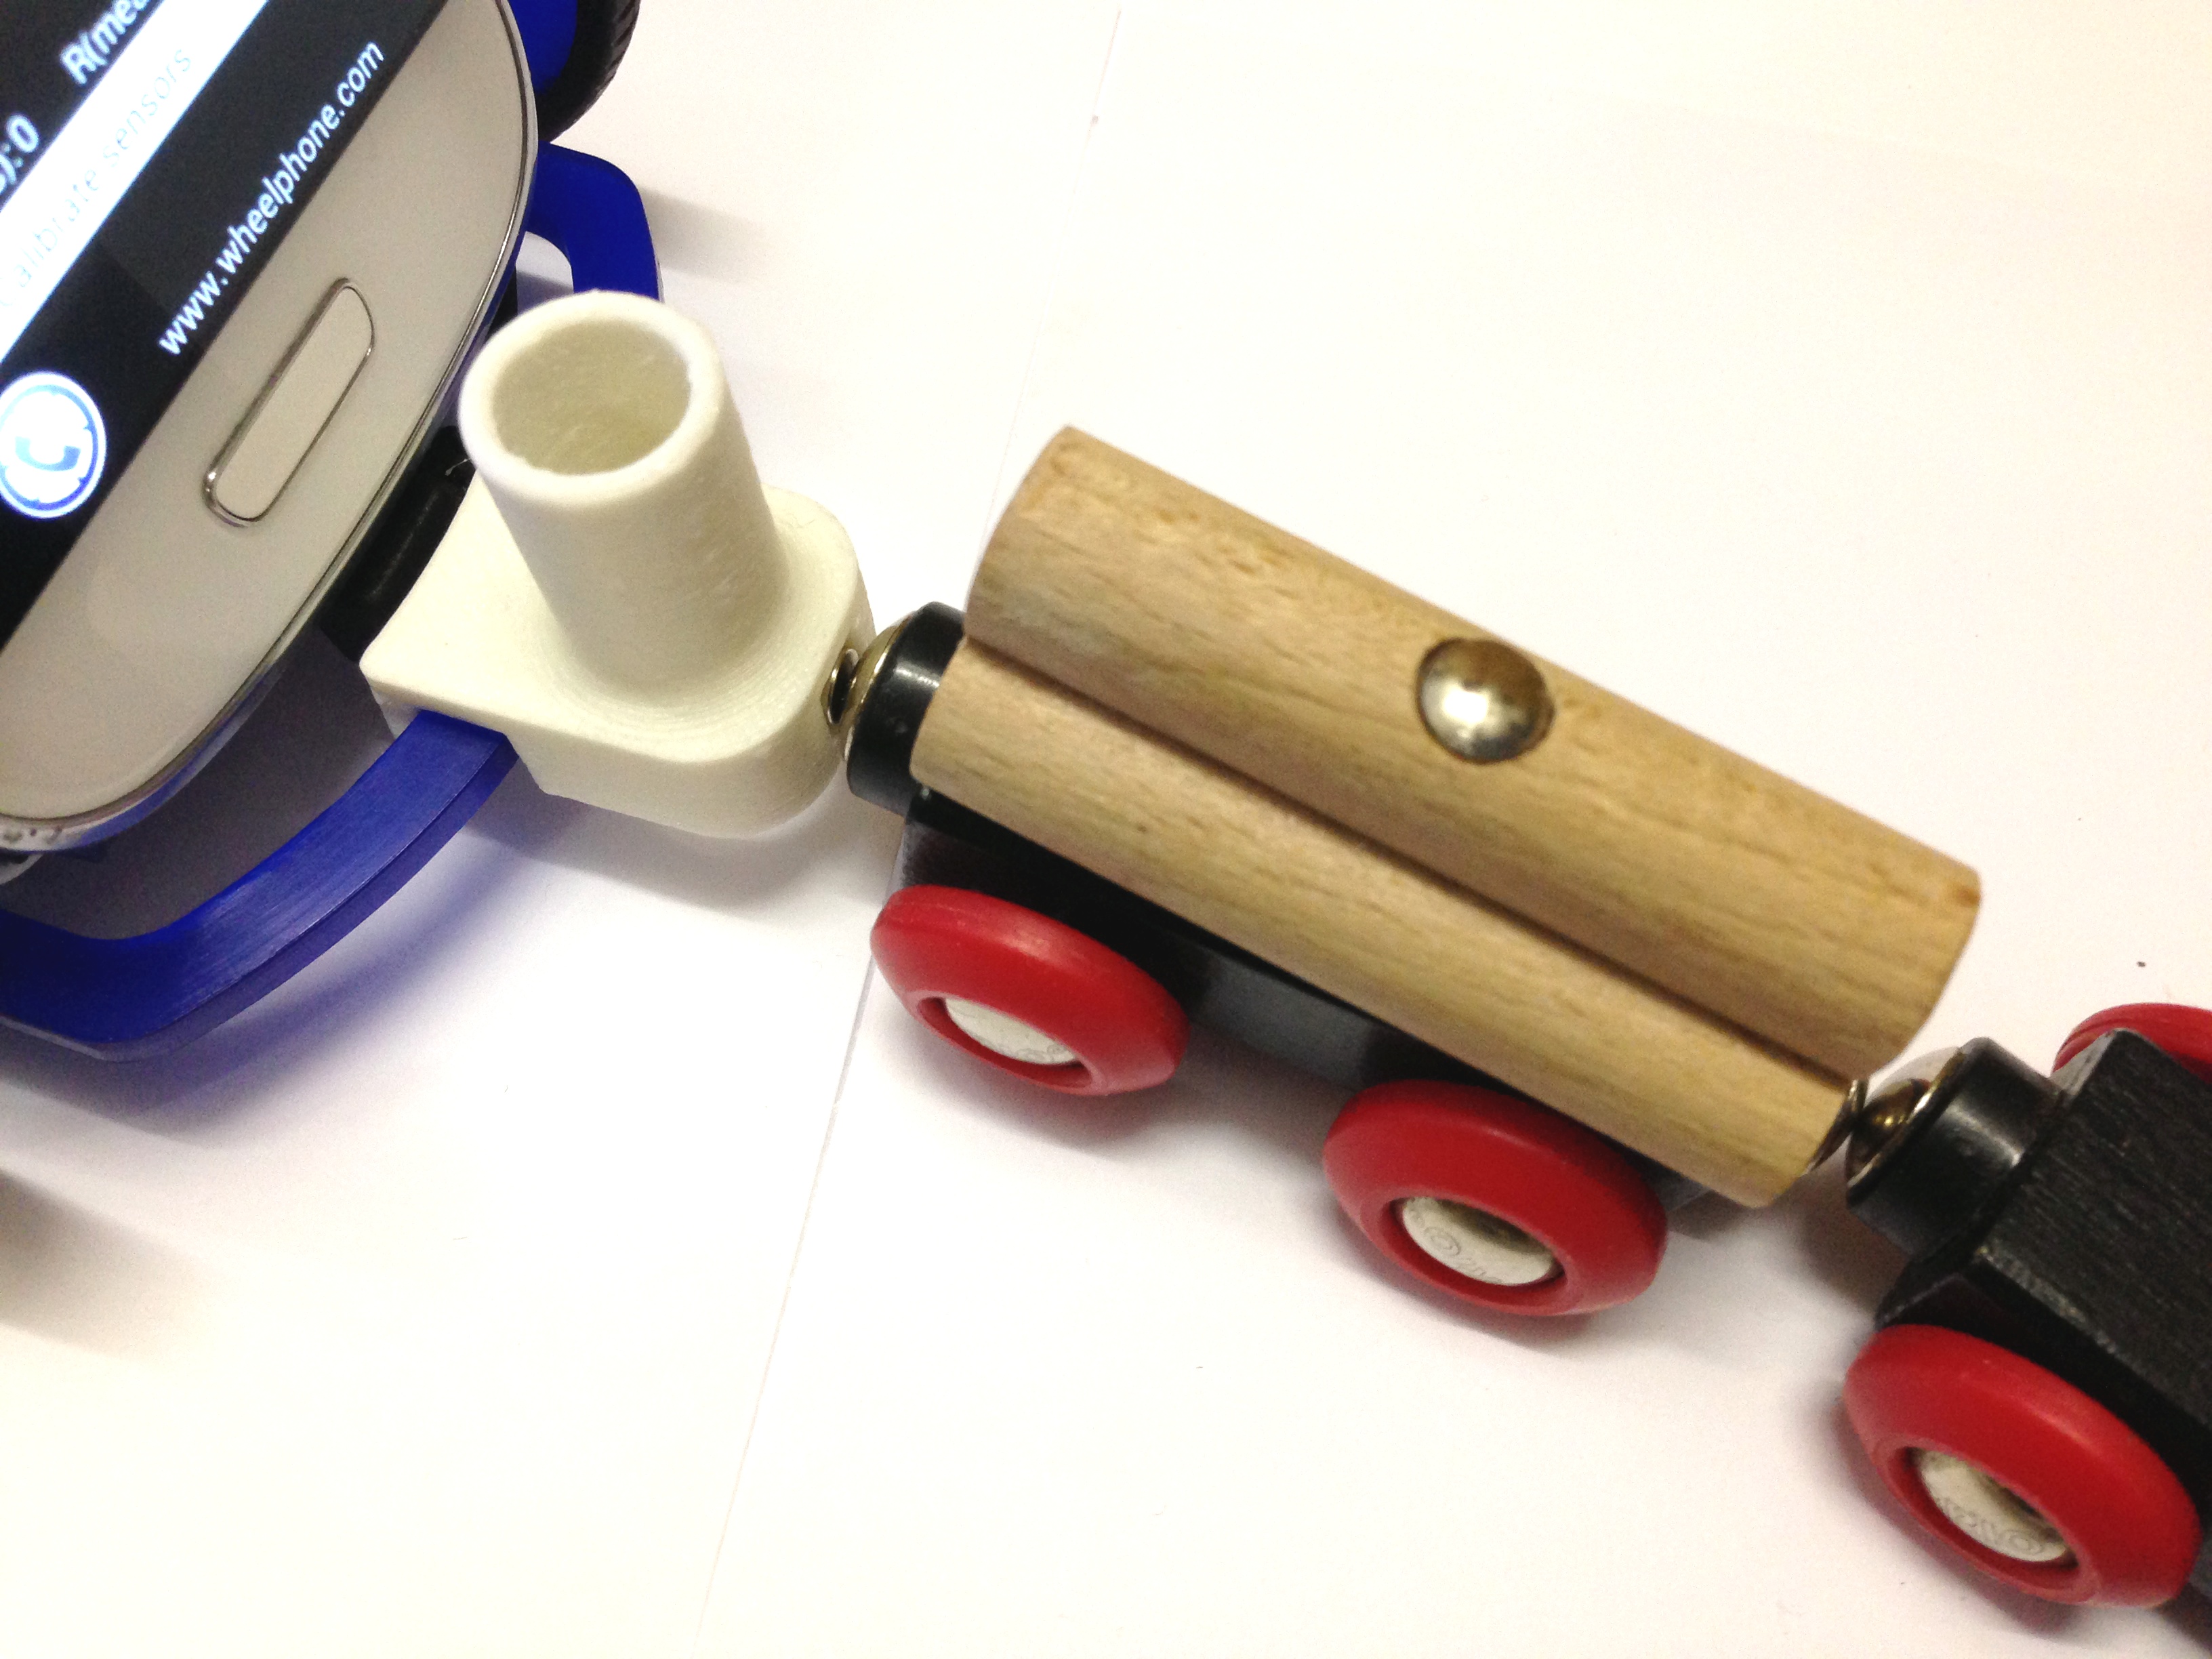
Magnetic drag
The same plastic extension used to work with a pen can be used to drag some others thinks thanks to a magnetic connection; insert a little magnet inside the hole as shown in the following first picture, then you are able to be for example a locomitve:

Video recording
If you are interested in recording a video directly on the phone that is connected to the robot, thus having the perspective of the robot while is moving, you can follow these steps:
- connect the phone to the robot and start the monitor application
- take the robot in your hands and give the robot a desired speed and enable obstacle avoidance (and cliff avoidance if you are moving on a table)
- press the home button of the phone
- start the camera app from the Android system and start recording
- place the robot on the ground and let it move around
- when you are satisfied take the robot, stop the recording and turn off the robot